

Watch the Video Version Here:
Or continue with the blog version below
When you open a Salesforce object/table for the first time, this is what it looks like:
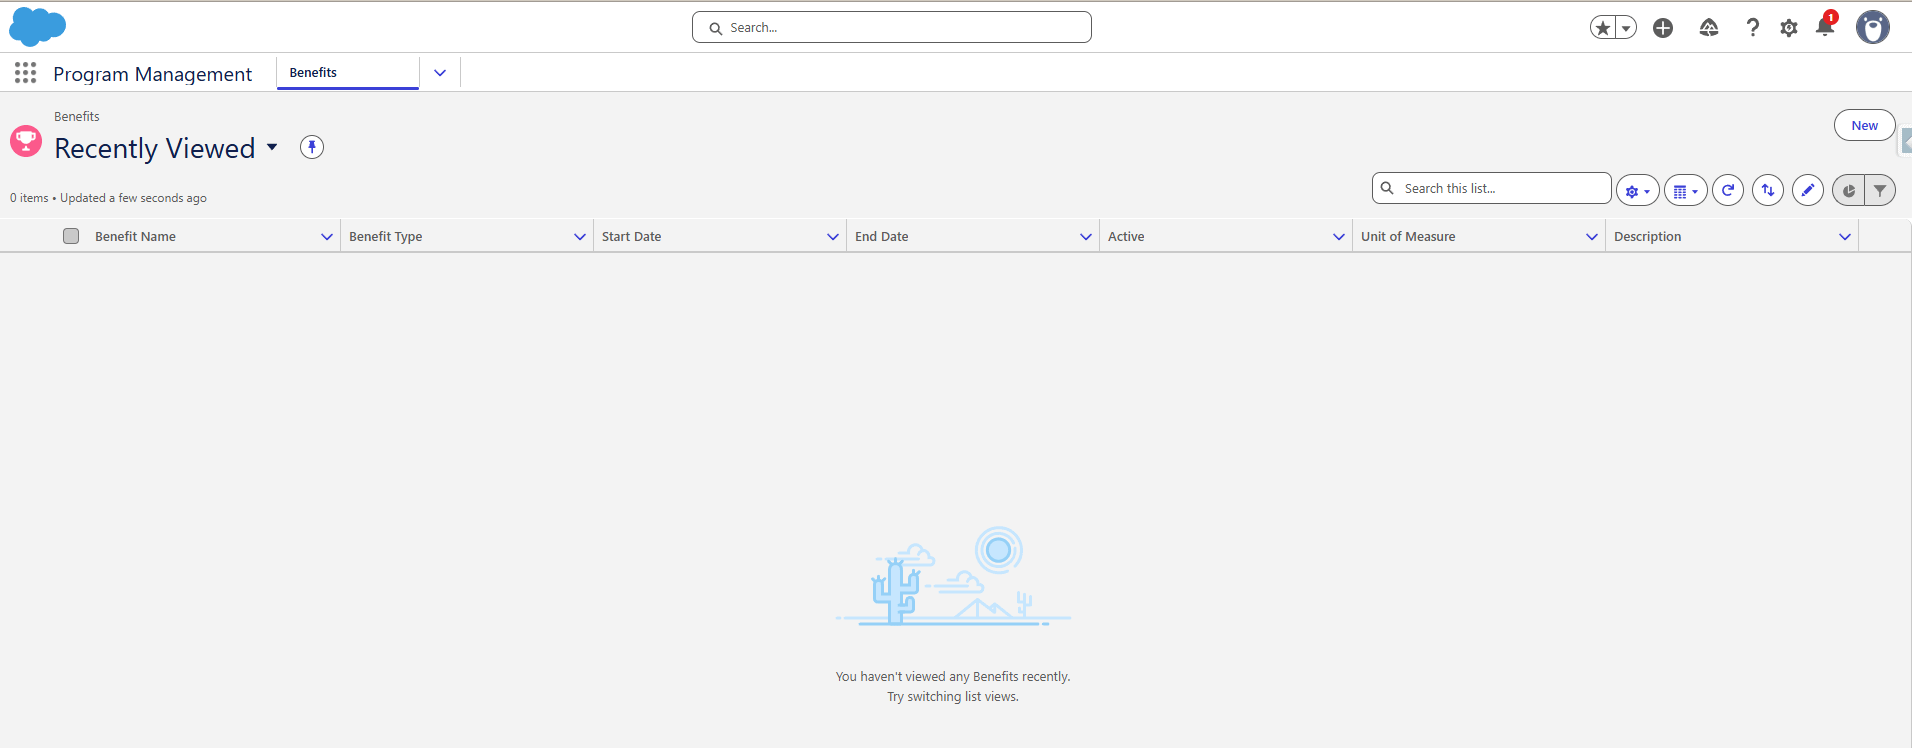
Where is the data?
The first question you may ask is ::: Where is the data? Is this table empty?
Maybe, maybe not. You will almost always need to switch from this view to a different view that would show data if any. To do that, hover to the phrase “Recently Viewed” and click, you will notice two options
Recently Viewed
All Benefits
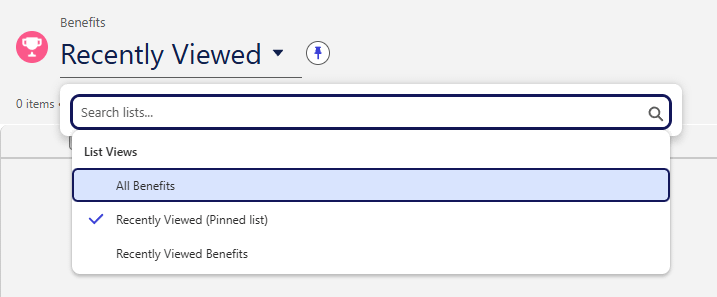
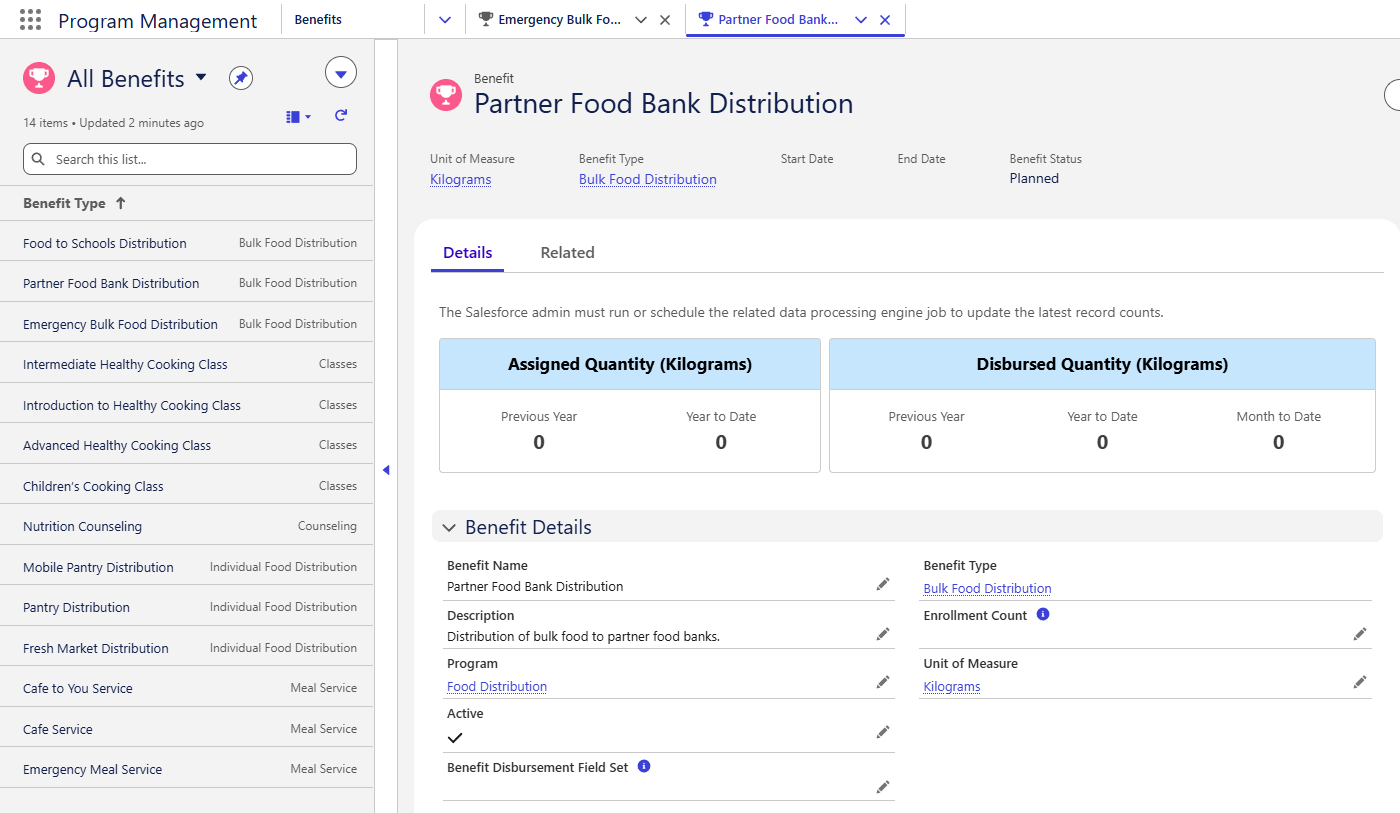
It says “All Benefits” in this case because we opened an object/table called “Benefit”, but if you were to open any other object, it will say the name of that object, examples:
All Opportunities
All Accounts
All Contacts
These are called List Views, every object will come with two List Views at least:
Recently Viewed
All “Name of Object”
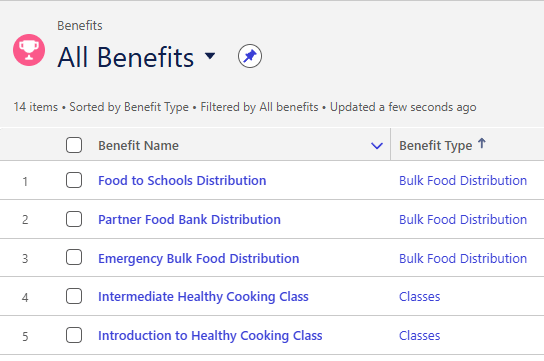
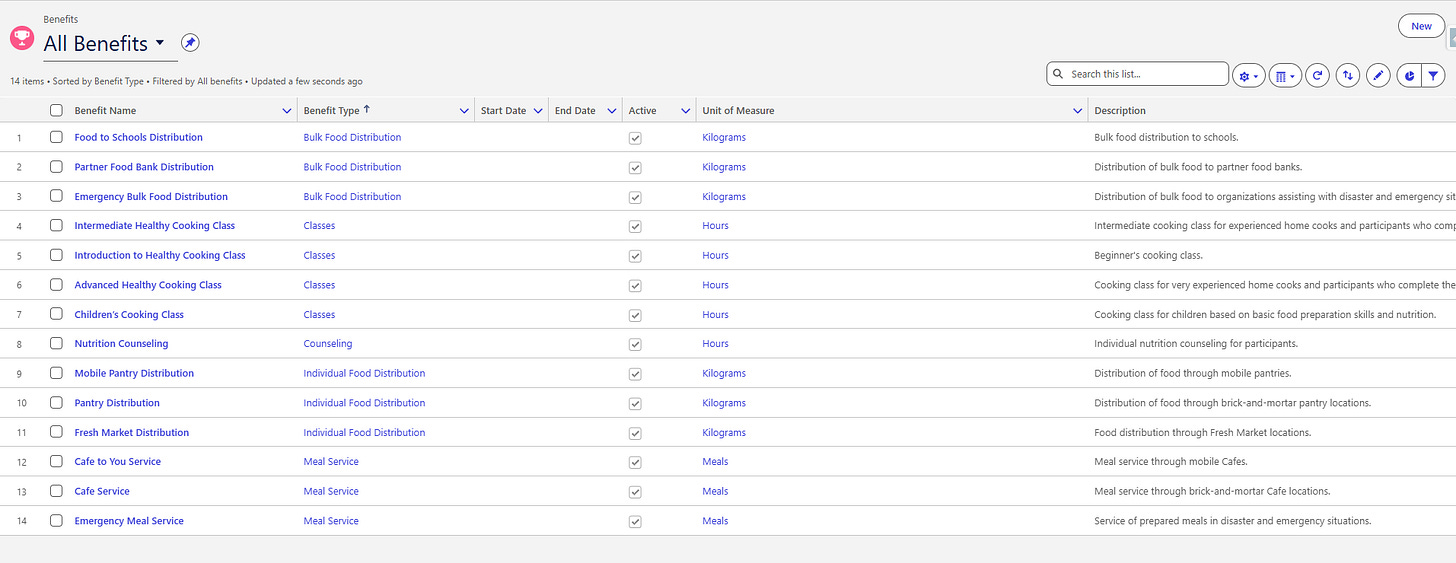
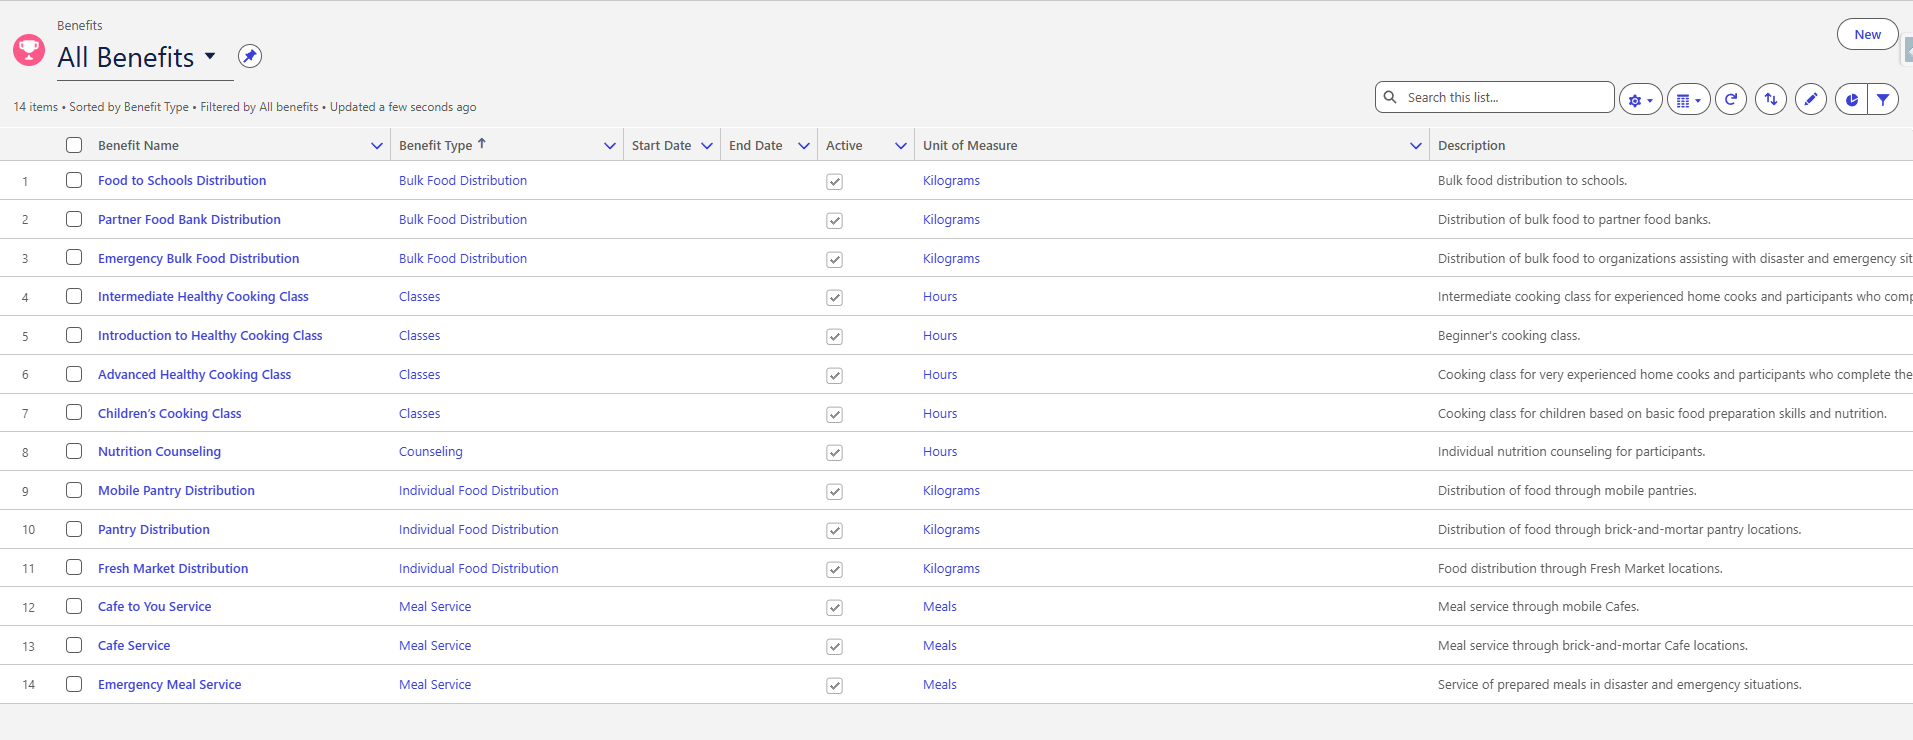
After you switch to All Benefits List View, we notice there is some data now appearing. You can click the Pin icon next to the List View name to Pin this List View, what this means is next time you open this object’s tab, it defaults to the Pinned List View you selected.
List View Controls
List View Controls gives you options to manipulate and change List Views to what you need.
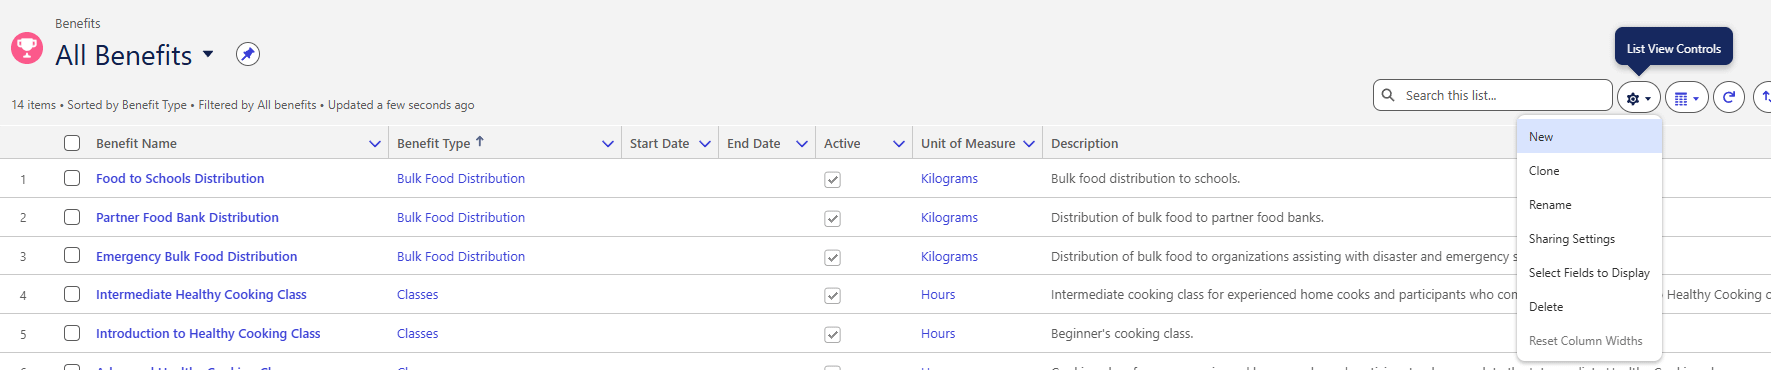
Create a new List View
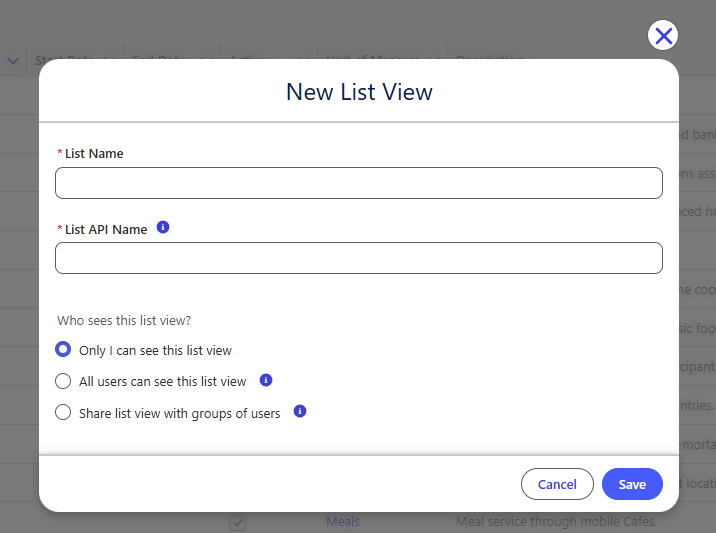
Create as many Lisa Views as you need, choose a descriptive name. We will be adding Filters and Fields later, but consider thinking about these when naming a List View.
Example Names:
This Month Donations
Last Month Donations
Donations Expected Today
All Unrestricted Donations
Salesforce will auto set the List API Name from the List Name, even though it can be different, I recommend keeping the API Names the same as the Names, in other words, let Salesforce auto name and keep it as is.
If you set a List Name and click anywhere outside the box, Salesforce will auto set the API Name, if you decide to change the name after this, remember to clear the API Name first so Salesforce auto sets the API Name to the new Name.
We will cover “Who sees this List View? in the #Sharing Settings section.
Clone an existing List View
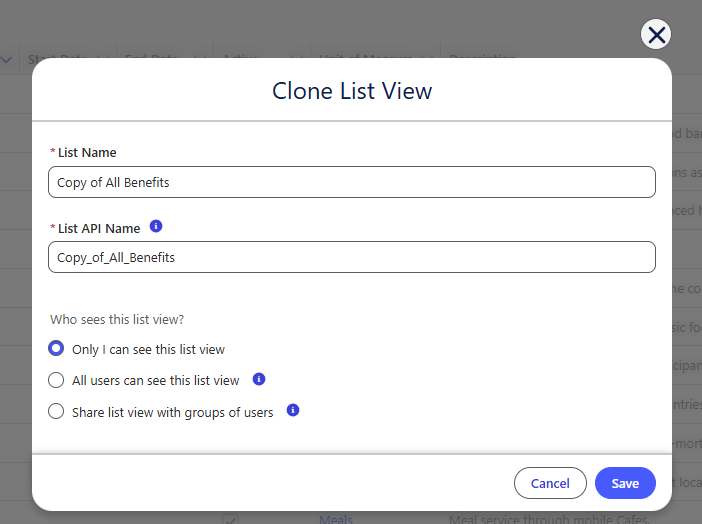
Very similar to New List Views, the only difference is that it auto sets both the List View Name and the List View API Name, make sure to change these to proper names.
Rename List Views
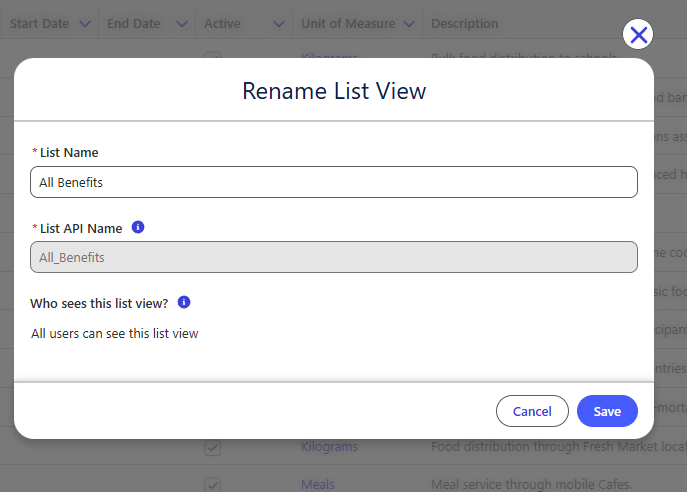
Self Explanatory, however, notice that we don’t have the option to edit the List API Name, which means the new name will be different from the API Name which I don’t like, in other places that reference this List View such as in code, the List Name does not show up, the List API Name shows up which in this case may not reflect the actual Name or purpose of this List View.
Since I recommend keeping both Name and API Name the same or very similar, I don’t recommend renaming List Views at all, I would rather Clone or Create New List Views with the desired name.
Sharing Settings
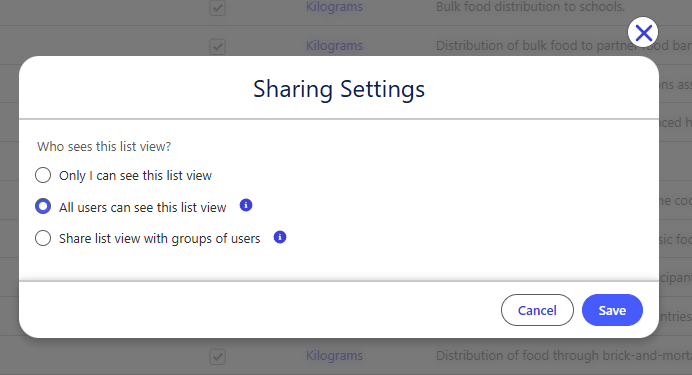
This is one of the features that makes Salesforce unique and powerful, granular security, you will see this across the board, you have so much control over who sees what at all levels.
Only I can see this list view
It means it is Private to you, the creator of this List View, to your own user only, nobody else would see this List View.
You would typically use this option for data views that only you care about, others don’t want to see such as
My tasks
Donations Without Dates (In case you forgot to set them)
Created By Me This Week
All users can see this list view
This is when you want to create List Views for yourself AND others, and by others, I mean everyone, any one with a Salesforce user who has access to this object will be able to see this List View.
Use this to create List Views that everyone will benefit from such as
Past Due Donations
Unacknowledged Donations
Constituents Missing Email/Phone Numbers
PRO TIP: All users here literally means all users including external users. The moment you create an Experience Cloud site and start inviting External Users, consider reviewing all List Views and change Sharing Settings from “All users can see this list view” to “Share list view with groups of users” and limit access to Internal users only
Share list view with groups of users
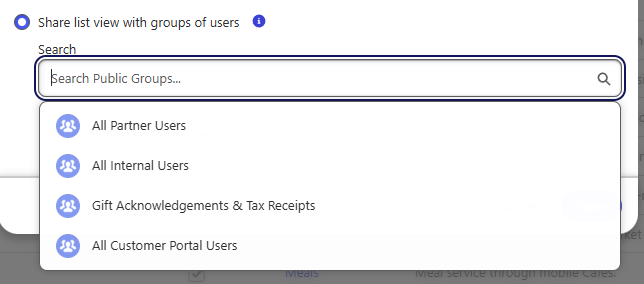
This option lets you share this List View with specific groups of users. notice how it says “Search Public Groups”.
To create custom Public Groups, you would do that from Setup > Public Groups
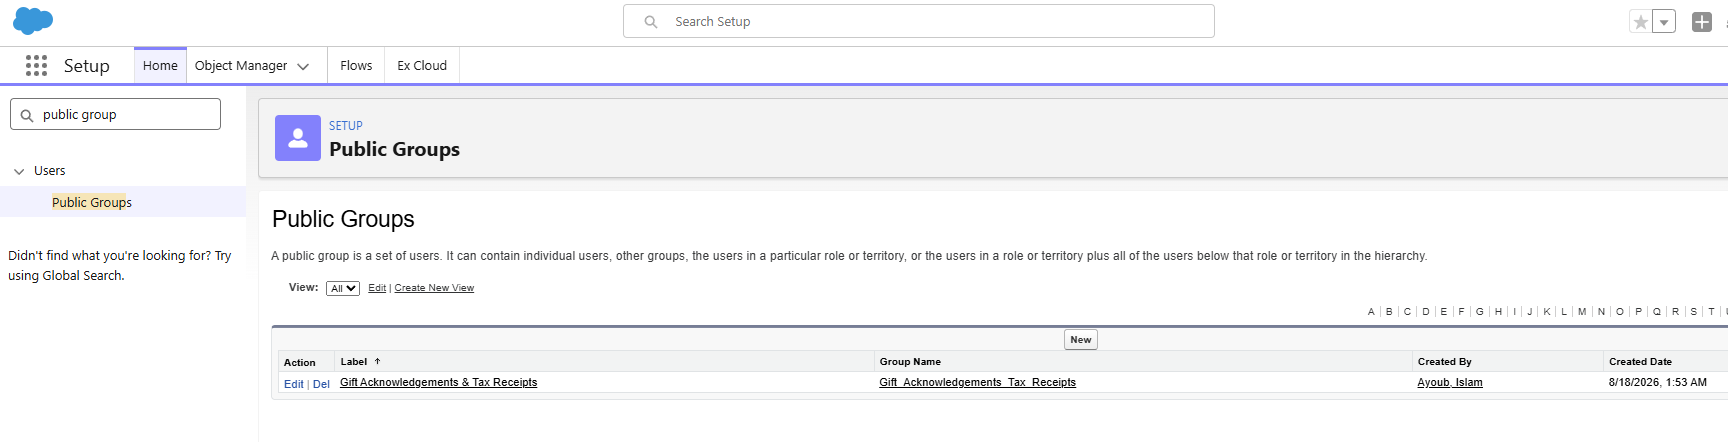
Salesforce has some standard Public Groups
All Partner Users → Represents external users, gets auto created when you purchase Experience Cloud licenses of type Partner.
All Customer Portal Users → Represents external users, gets auto created when you purchase Experience Cloud licenses of type Customer.
All Internal Users → As in, exclude External Users above.
Feel free to create your own custom Public Groups such as:
Marketing Team
Fundraising Team
Major Gifts Team
Leadership Team
Data Auditing Team
Select Fields to Display
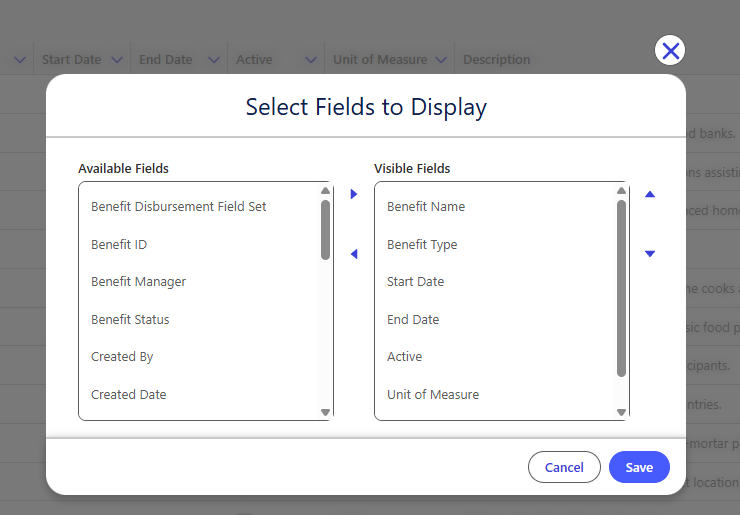
Controls what fields or columns to add or remove from this List View, simply use the arrows Left and Right to add or remove, and use the arrows Up and Down to reorder columns.
Reset Column Widths
You can control column widths by clicking and holding in between header cells then dragging left or right.
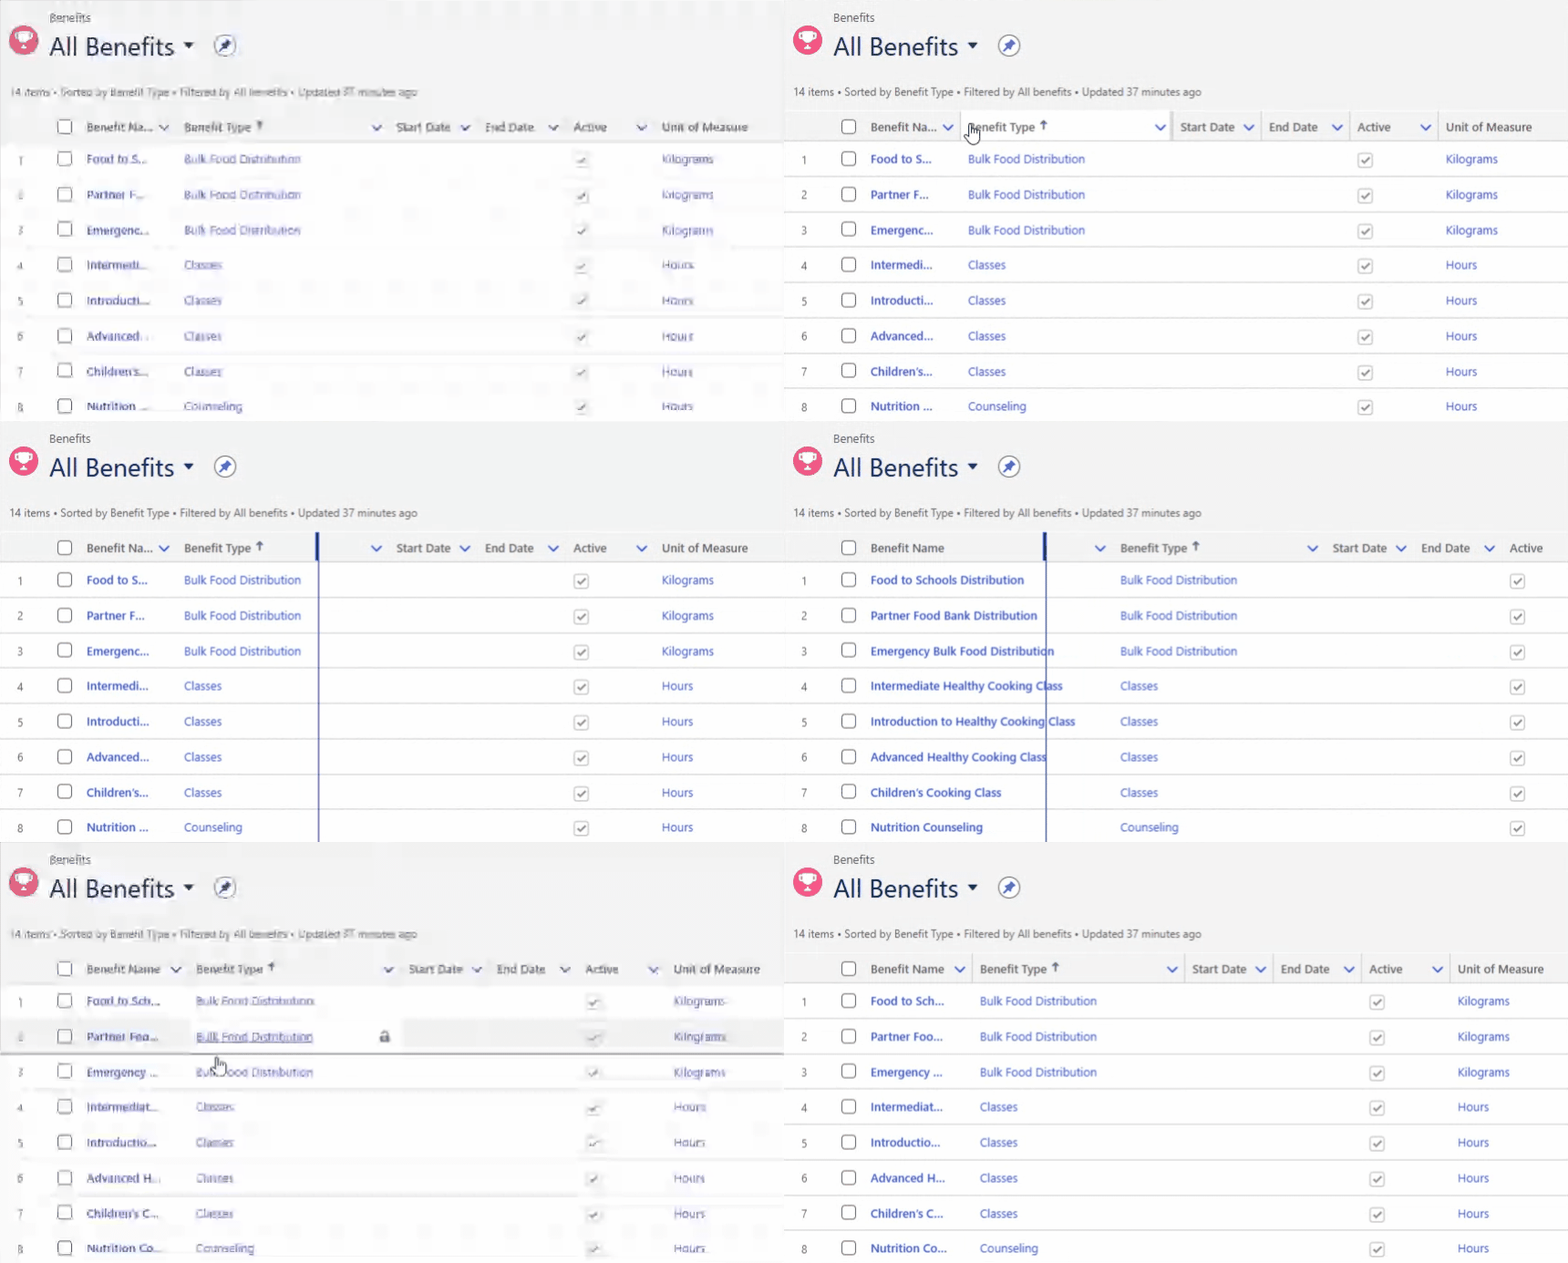
Doing so may result in the columns extending beyond the screen width, notice below how the Description is cut off by the end of the screen
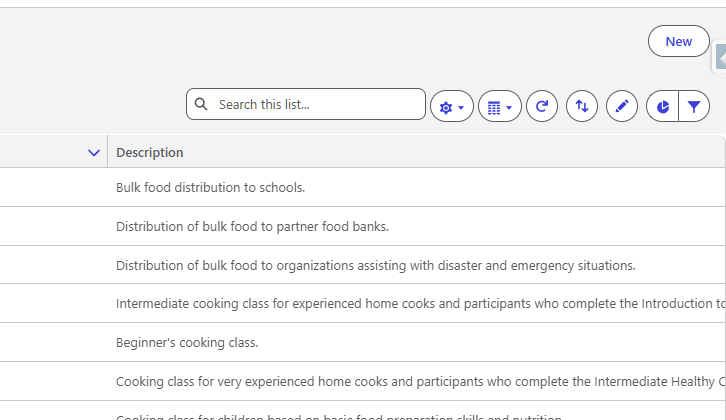
You can use the horizontal bar below to scroll left and right
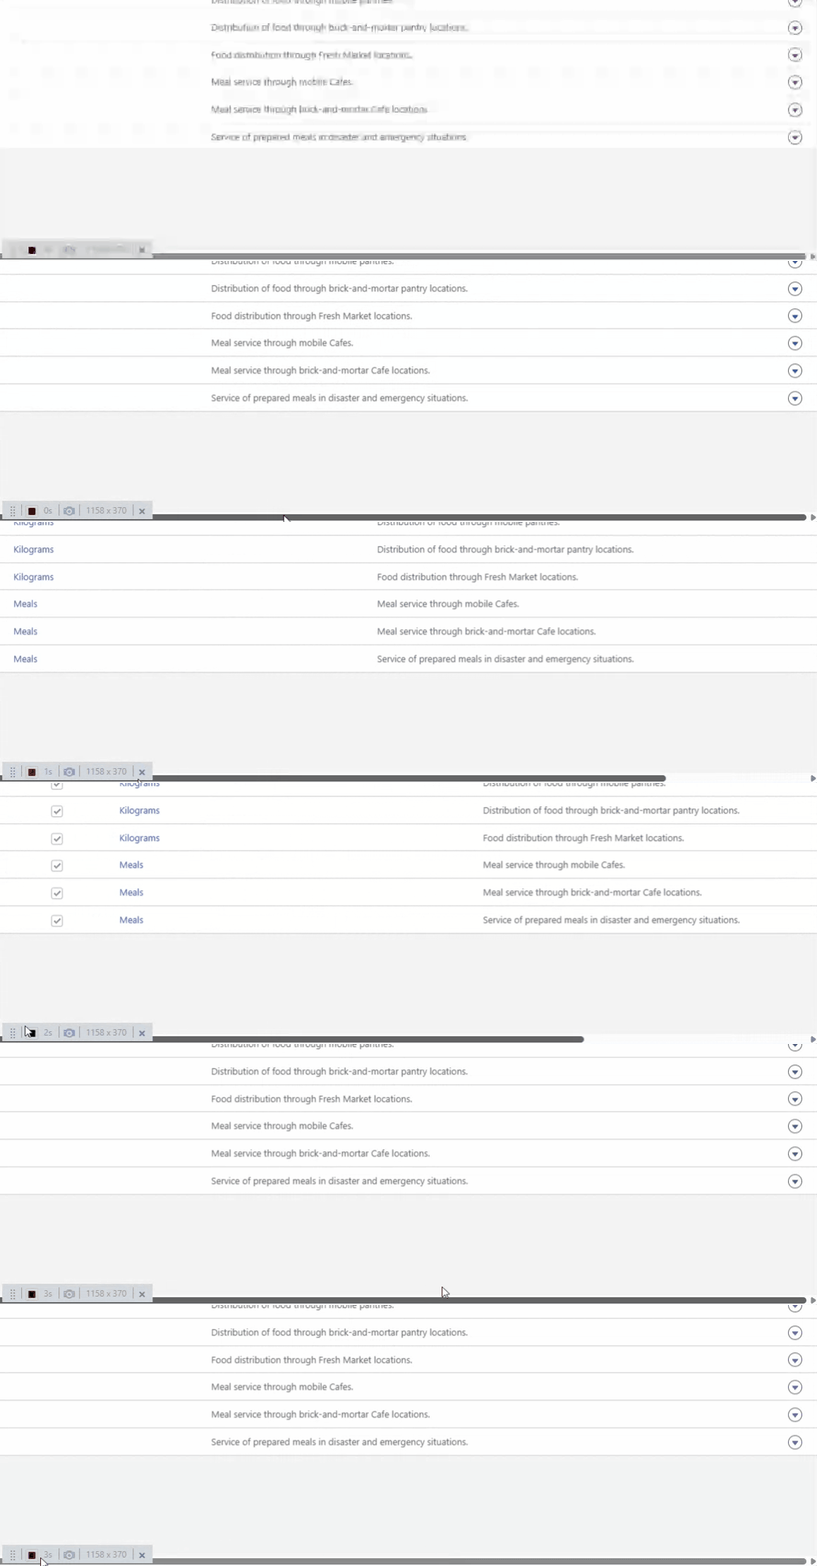
Or you can use Reset Column Widths to get all columns to fit the screen
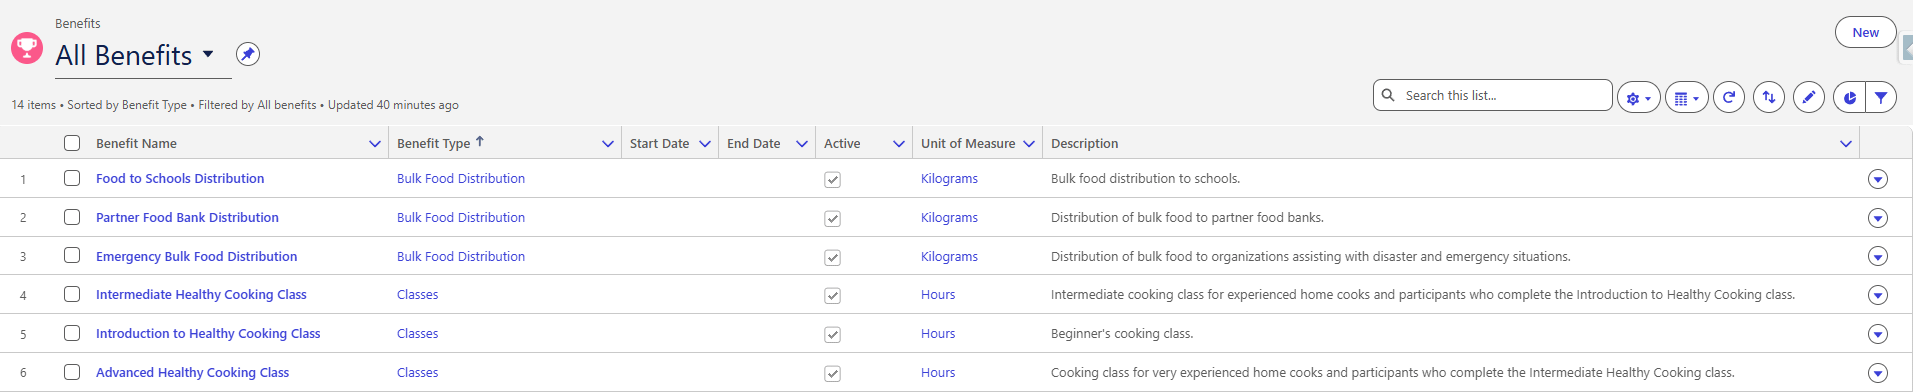
Columns widths are back to normal and we also got to see the dropdown arrow for each row/record, this is where we get to perform operations such as Edit or Delete

Applying Filters to List Views
Applying filters would get the List View to show only the Records/Rows that meet the conditions or filters set.
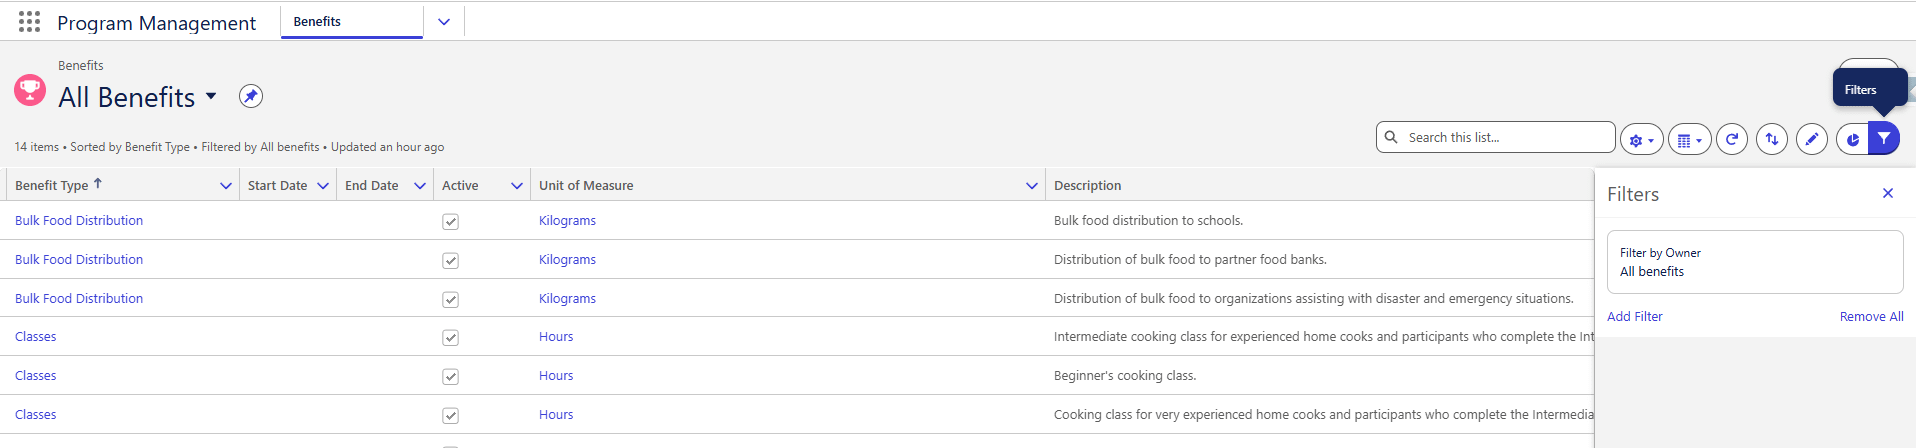
Click the Filter icon at the very right side to open the Filters panel
A filter can be applied to Fields/Columns, you can add as many filters as needed.
Salesforce automatically applies one filter by default
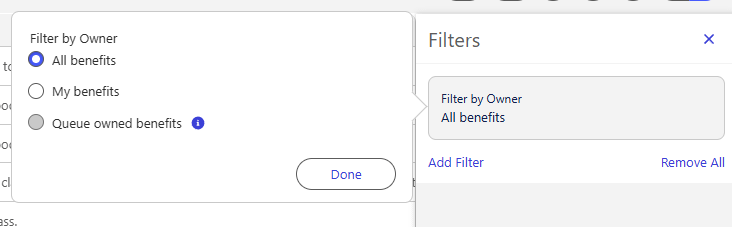
Filter By Owner set to All records/benefits.
The Owner is a field like all other fields except it has some security dependencies. Records you own may or may not be accessible to others depending on the sharing settings, that is a topic for another time. For now, you want to keep this filter set to All Benefits/Records.
Add Filter
Click on Add Filter to start adding filters
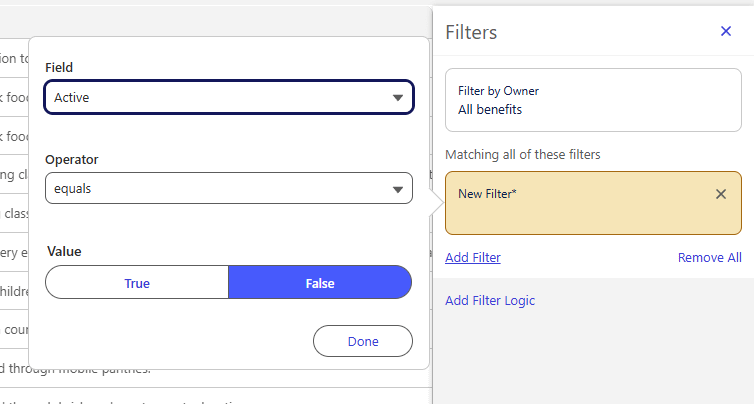
The components of a Filter are
Example Filters:
Filter Logic
When applying more than one condition or one filter, the filters default to an AND logic, meaning, the records that will appear are the ones that meet both conditions or all conditions.
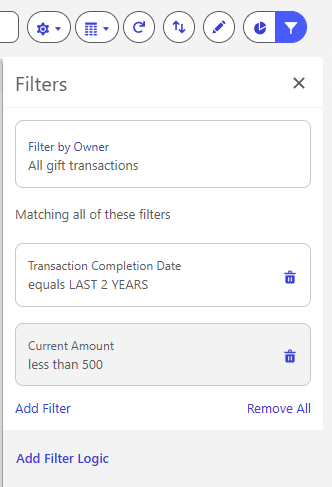
If you would prefer to use an OR logic instead so that all records that meet any of the conditions should appear, you can click Add Filter Logic
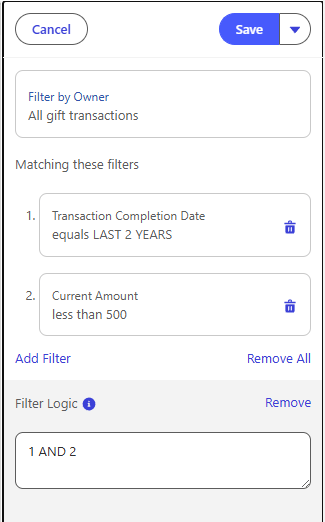
Notice how it defaults to AND, you can change this to OR
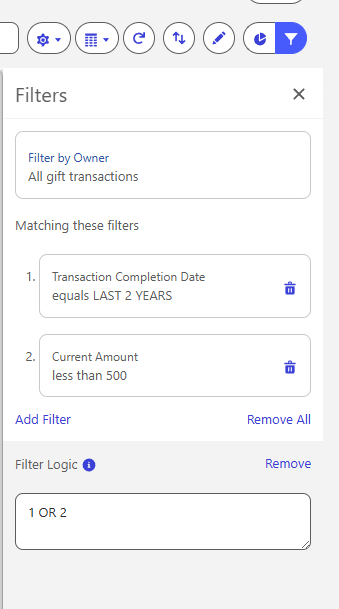
You can also add any custom logic you want such as
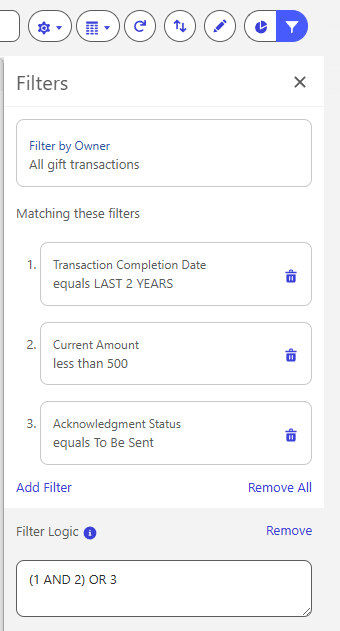
PRO TIP: If a user does not have read access on any of the fields used in the Filters, the filters won’t work and the user may see more data than intended.
Make filters more powerful with formulas
Notice how the Filter Logic is limited to AND and OR statements? What if we want to have a bit more complex List View filters?
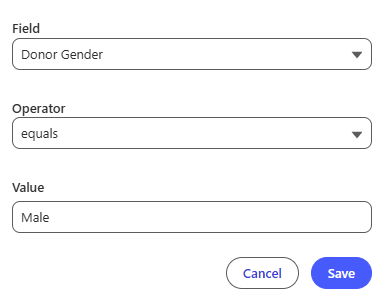
Scenario: We want to view donations made by Males and donations made by Females
In Nonprofit Cloud, the data for the gender of the person exists on the Person Account, and it does not live directly on the Gift Transaction object. The Donor field is where the Person Account is populated.
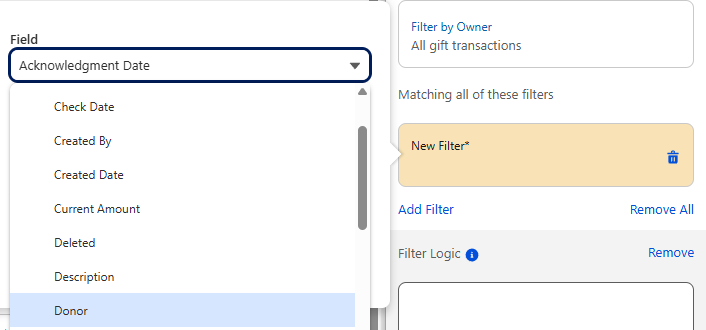
If I were to attempt to select the Donor, it only shows me the Donor and won’t let me access any of the Donor information such as Name, Address, Gender, Birthdate, Email etc…
To perform this filter, we will need to create a Formula field on the Gift Transaction object
We will talk about how to create fields in more detail in future articles, briefly now, from Setup > Object Manager > Gift Transaction > Fields and Relationships > New
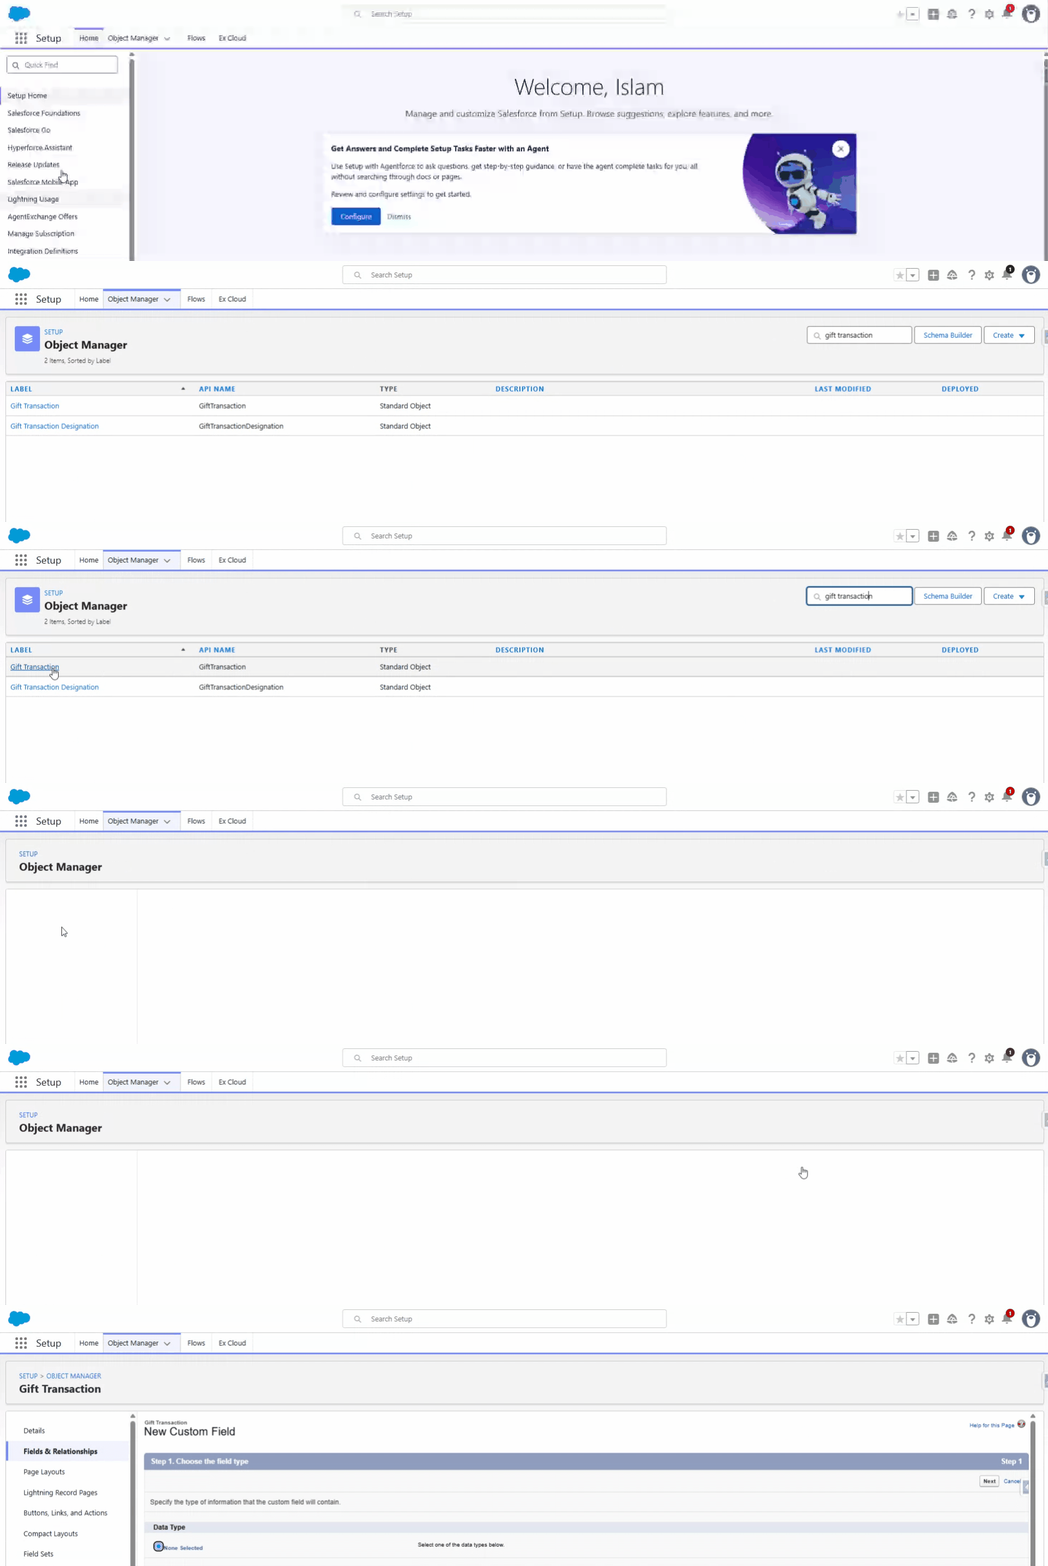
Select Formula Data Type, Give it a Name, Return Text and enter this formula
TEXT(Donor.PersonContact.GenderIdentity)
Hit next and save this formula.
Now that we have this new field, we can add it to List Views
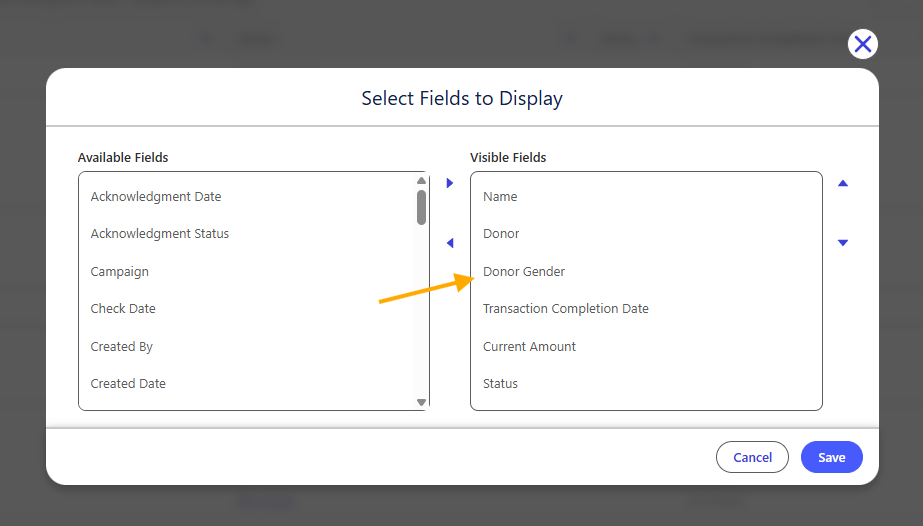
and we can use it in Filters
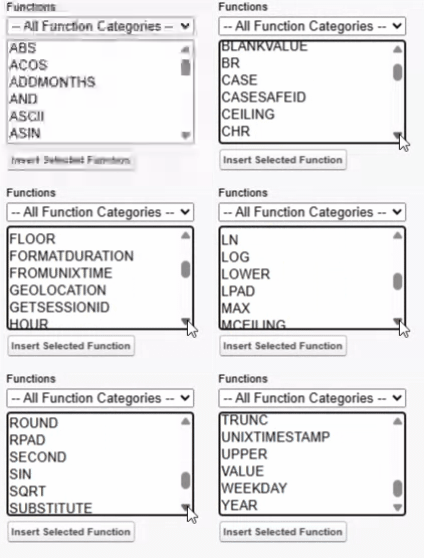
Formulas give you so much power, you can get really creative
Other List View Actions
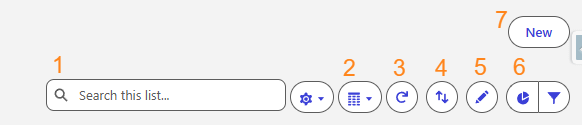
Search This List. You can use this to search this list data, there some fields that are not searchable like formulas or checkboxes or related objects, I usually prefer to use the Global Search instead

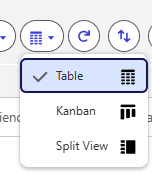
Apply a different view/display to this List, the options are
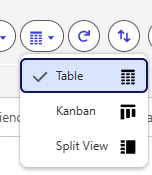
- Table View
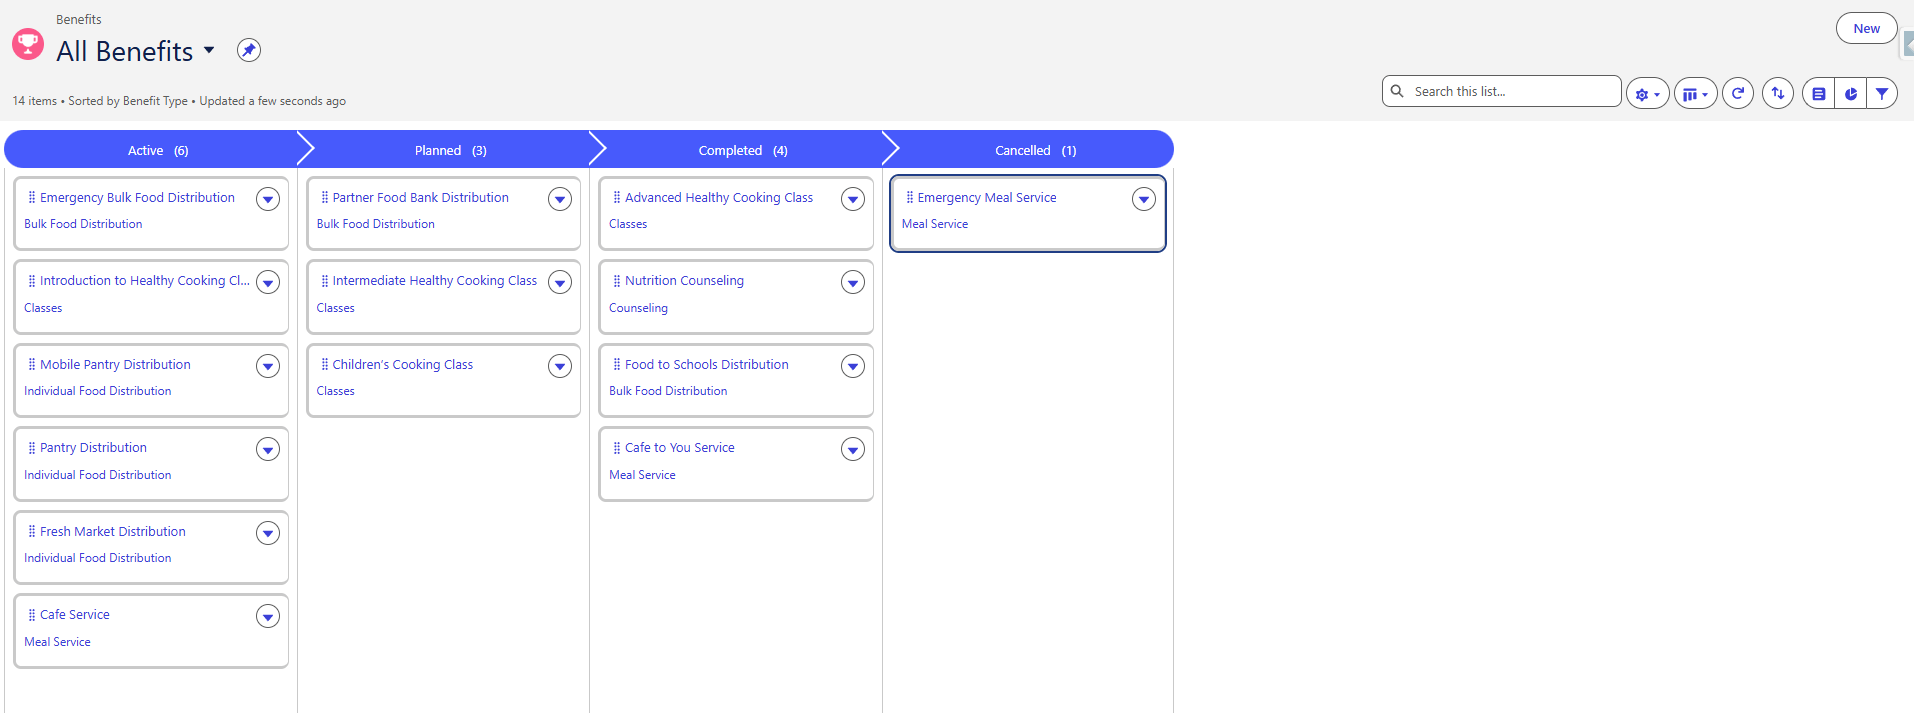
- Kanban View (A Kanban View requires a Picklist field to be used as the path or the section header, in this case, it is using the Benefit Status)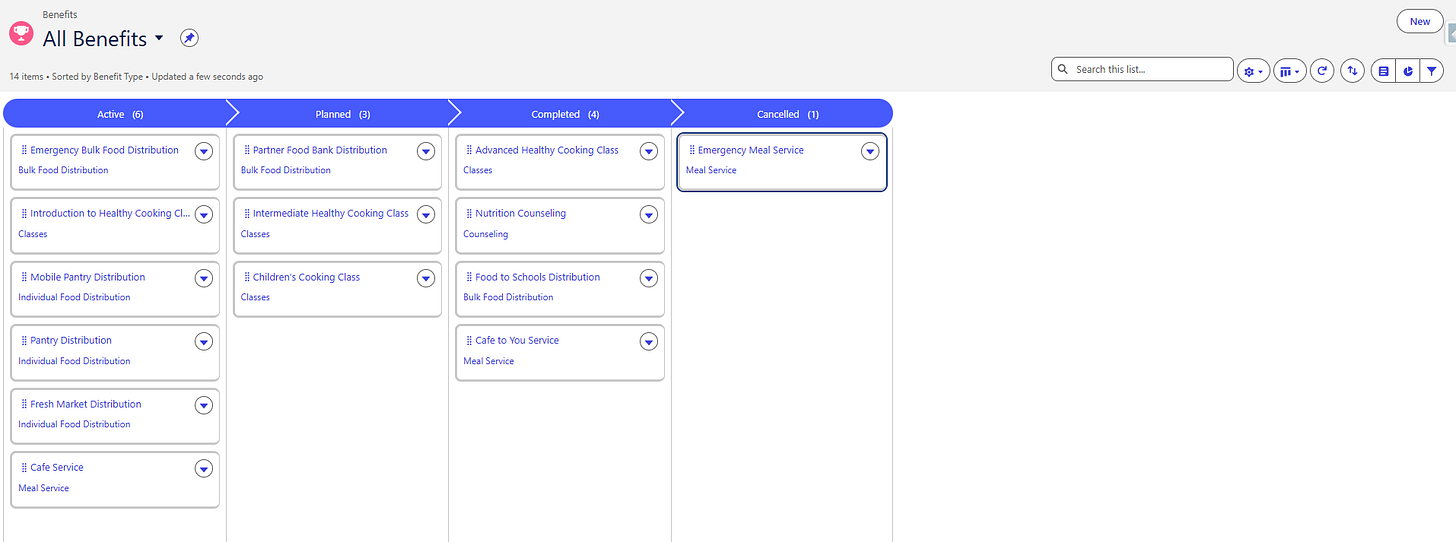
- Split View (Let’s you open a record while seeing the list of records to the left side to navigate between records without leaving the detail view of a record, this view let’s you open two or more tabs without having to close them, perfect for work that involves multiple records)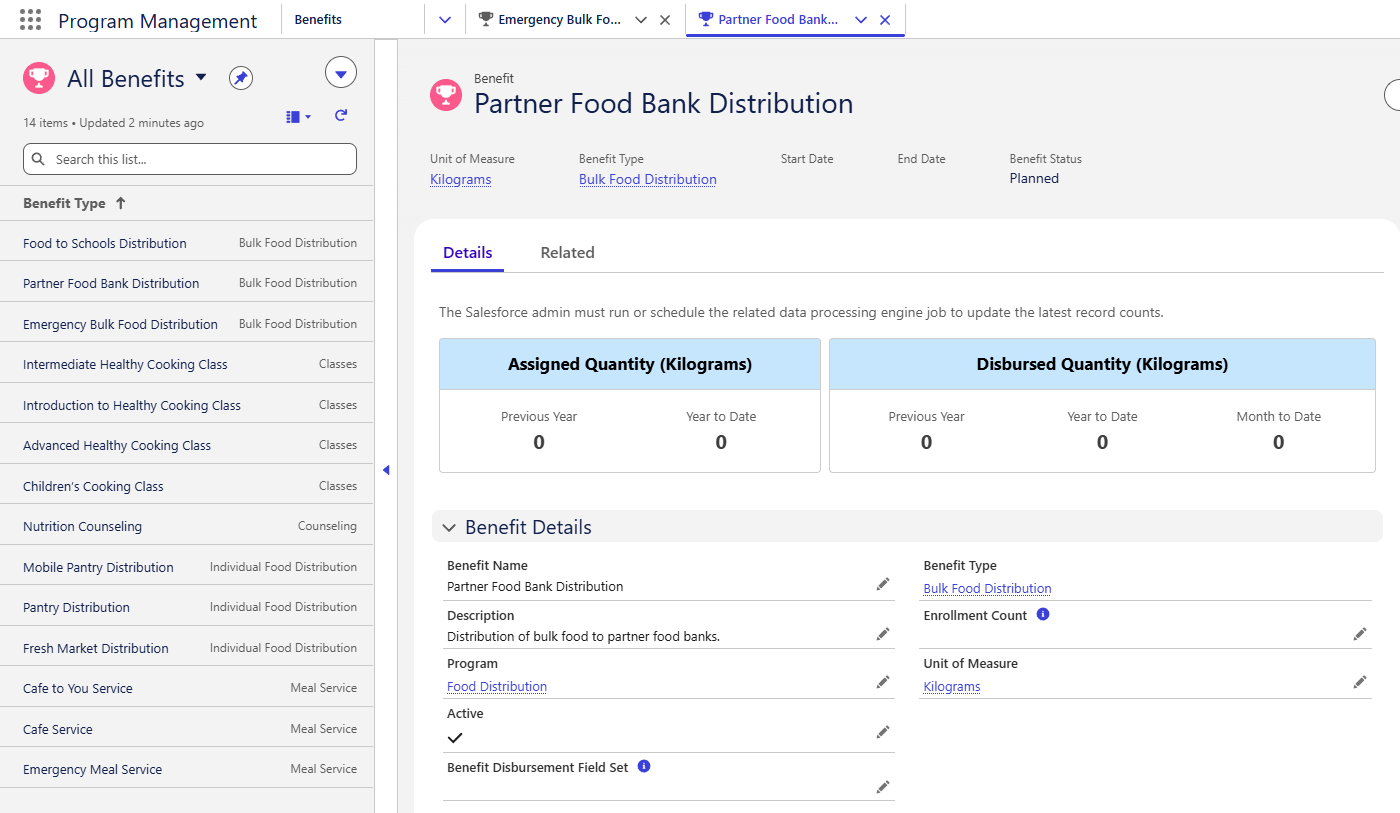
Refresh view, in case new records got created, records got deleted or updated and need to pull the most recent updates.
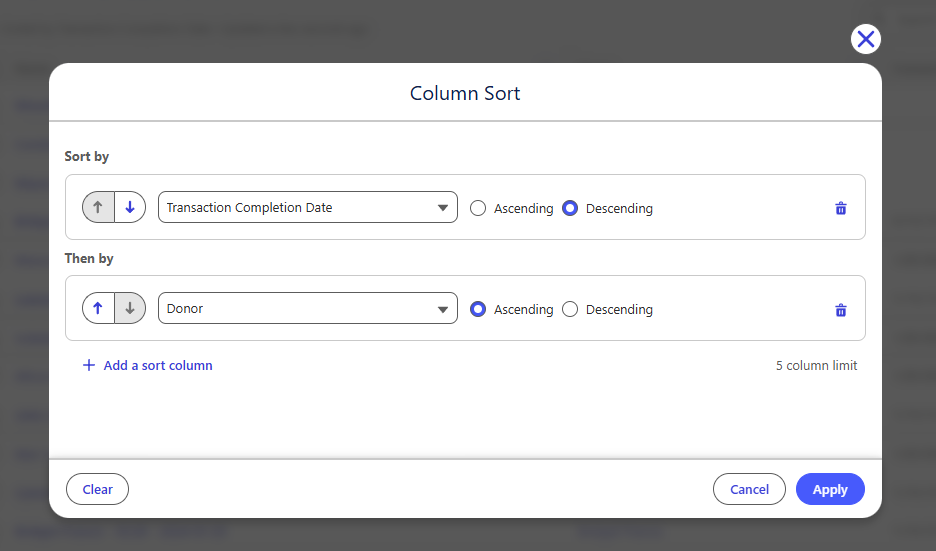
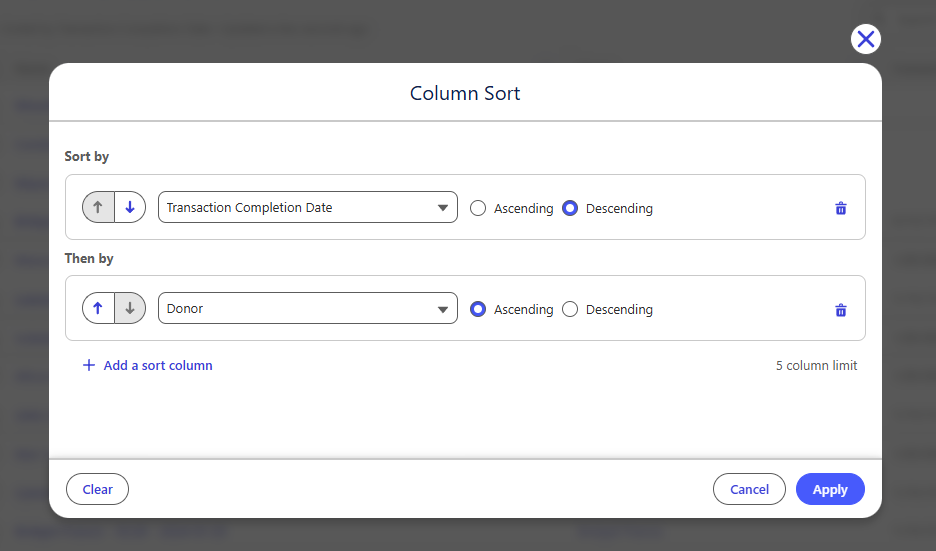
Sort. You can sort by multiple columns in an order you specify and you can specify for each field if you would like the order to be ascending or descending.
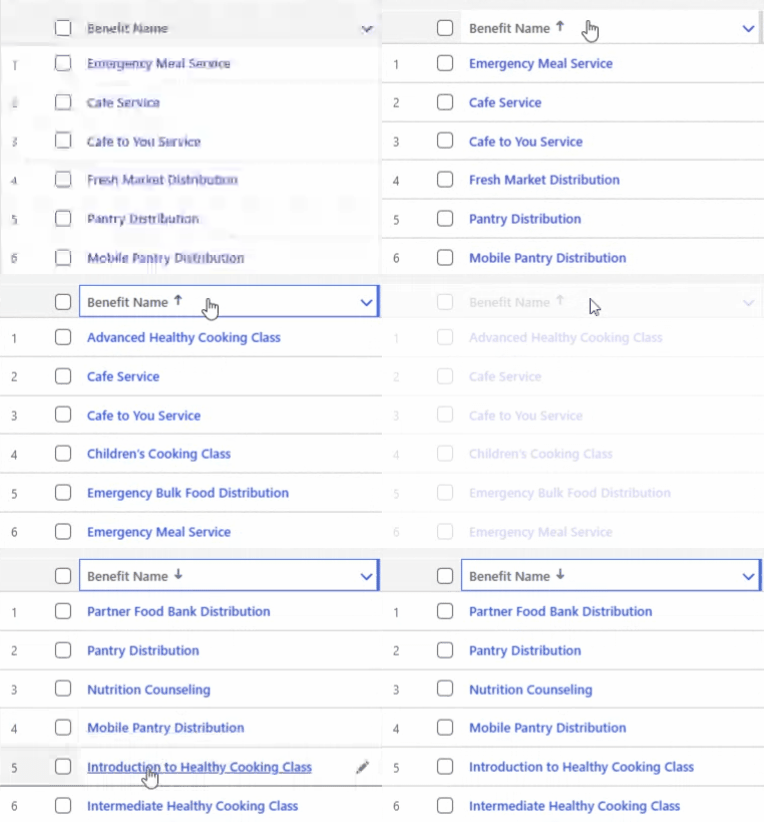
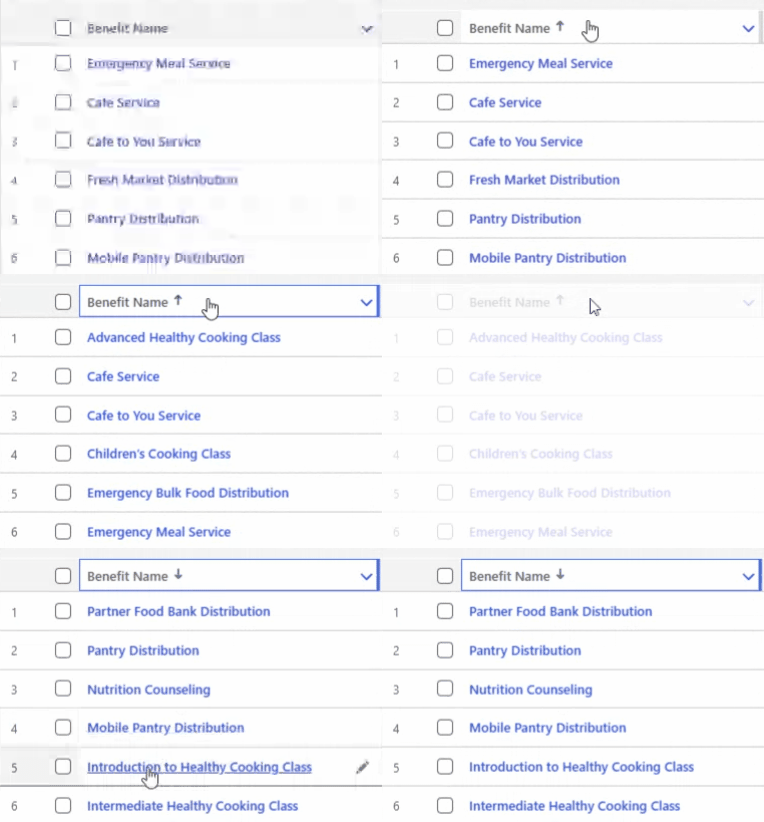
If you want to sort by one column only, you can click the header of that column. You can click it again to change it from ascending to descending or vice versa.
Edit List, I am not sure why I would click this button, but it seems to open
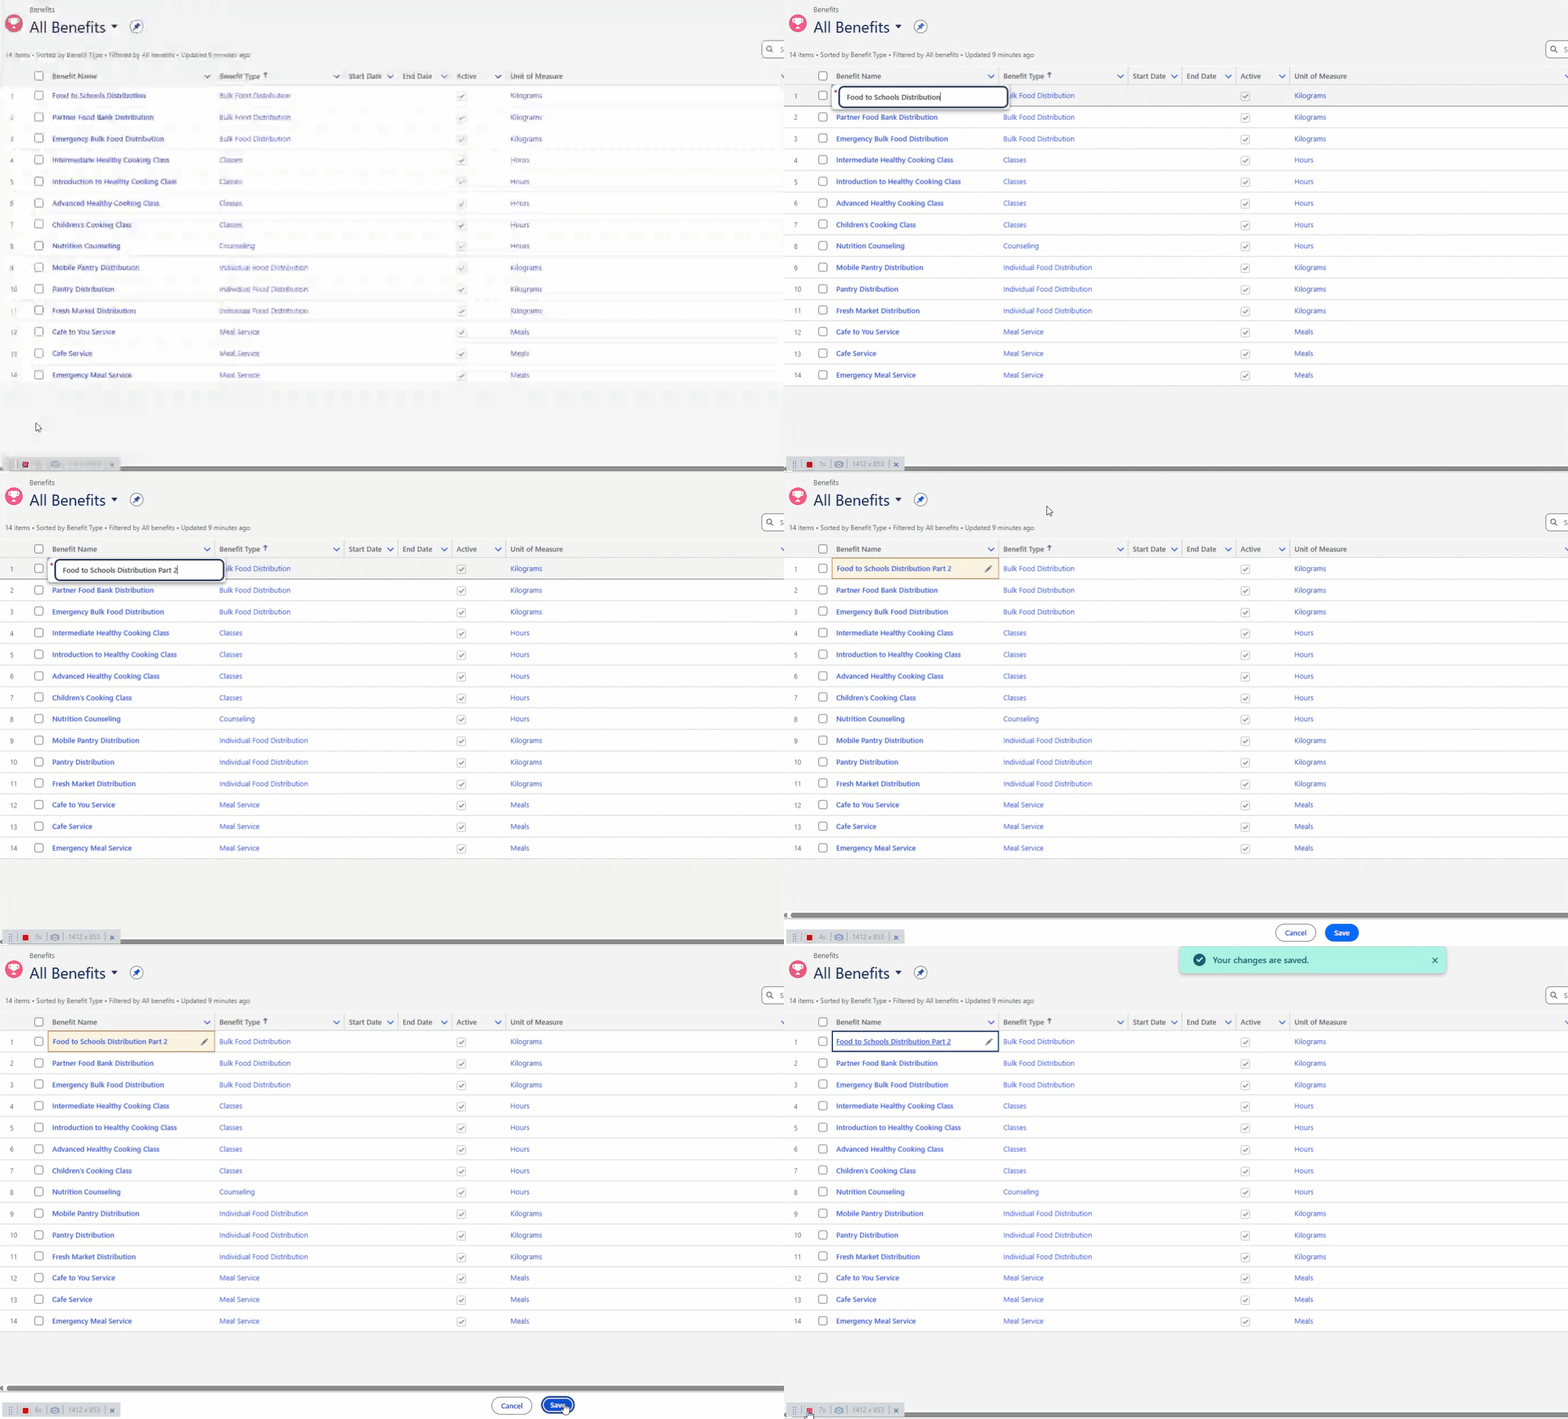
and edit the last cell you clicked on, the alternative way to edit the list is to hover on fields you want to edit, you will see this Pencil icon, click and edit, then click outside, then you will notice a bar appears at the bottom to cancel the edit or save.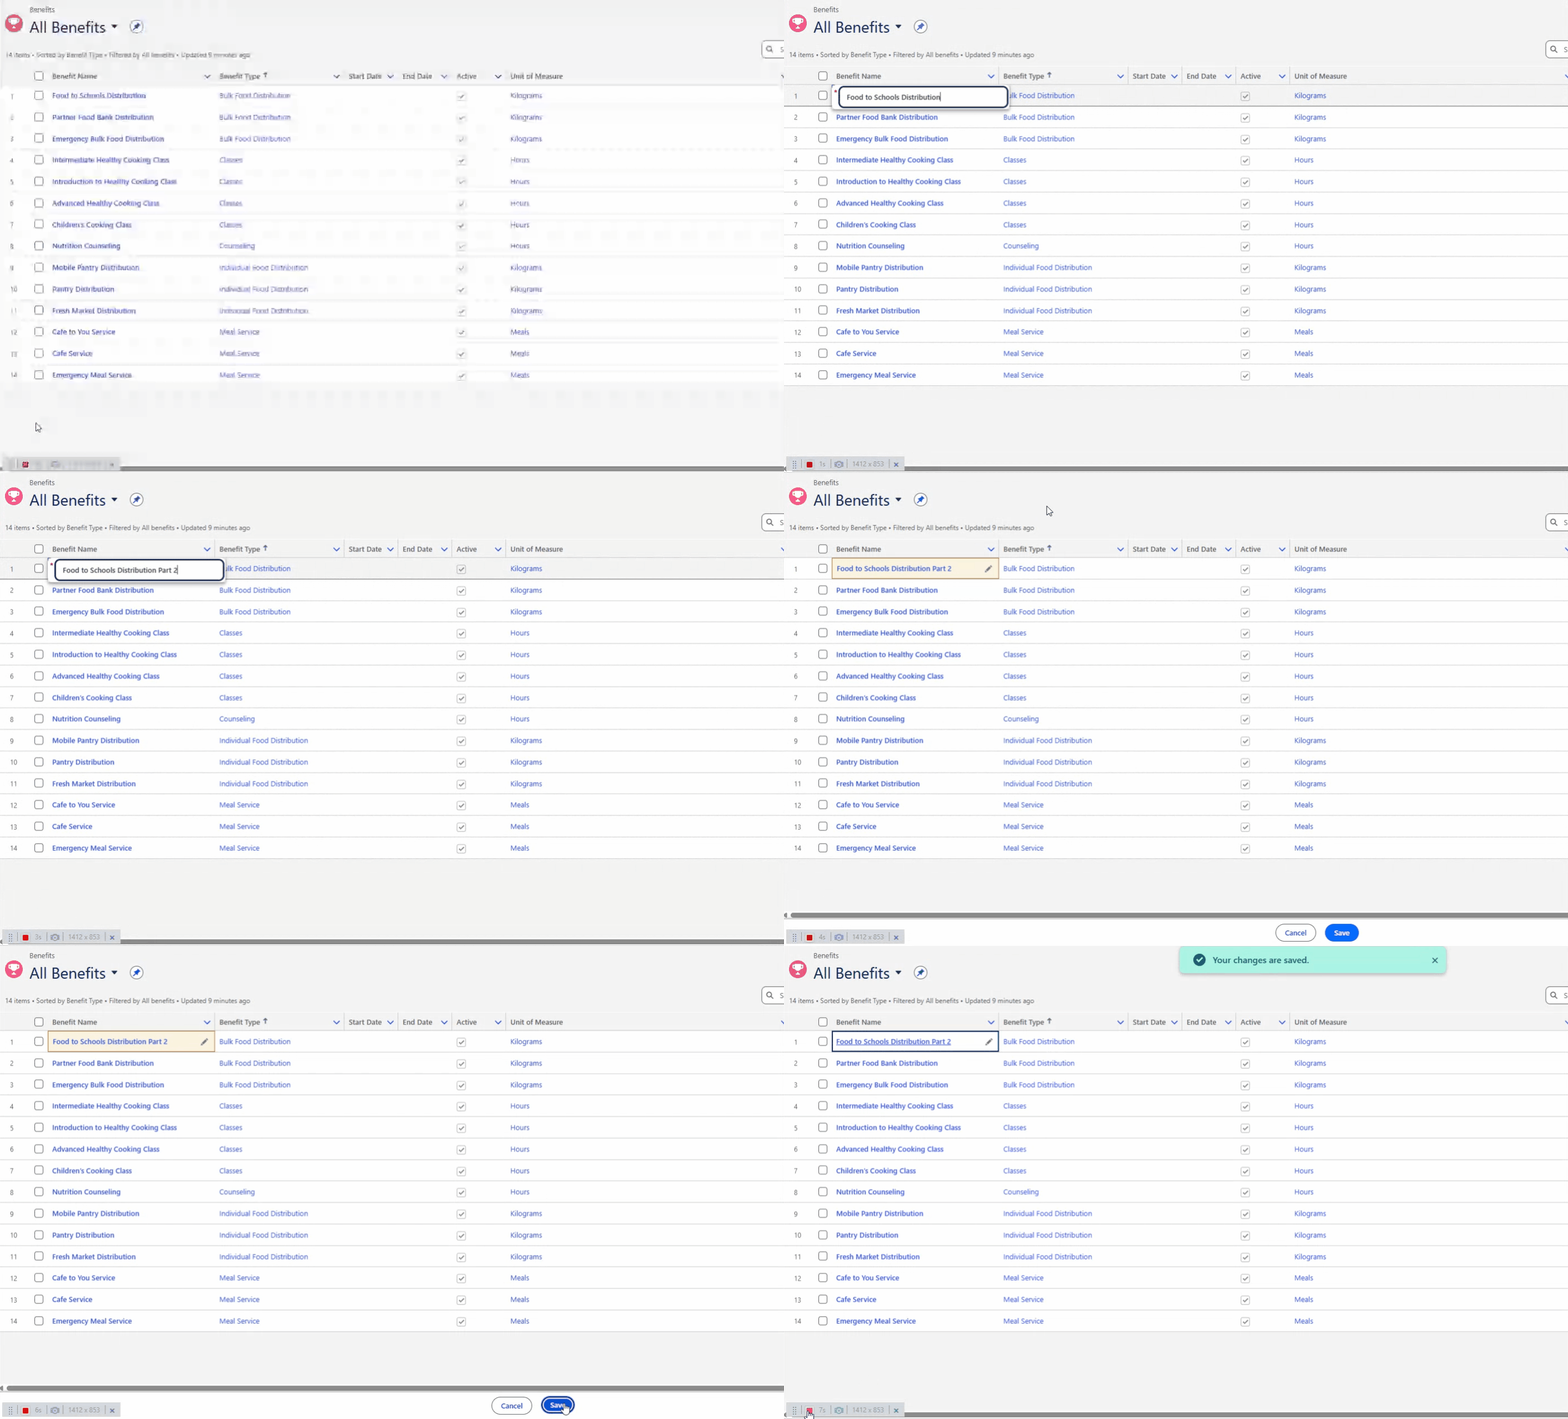
To edit records in bulk, select the records, then start editing, you can check “Update X selected items” to bulk update.

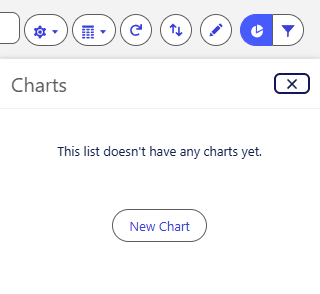
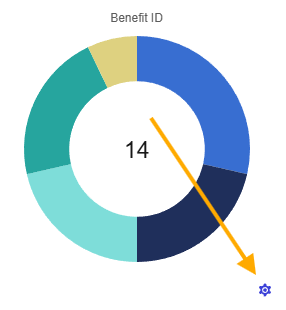
Add charts. While it is recommended to build charts and analysis in Reports and Dashboards, this is a quick way to see information at a glance without having to navigate to Reports or Dashboards.
To get started, you will be prompted to create a New Chart the first time.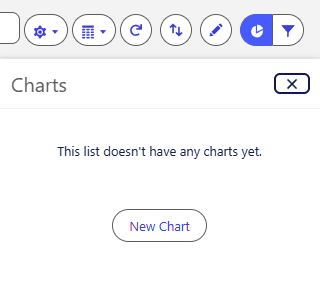
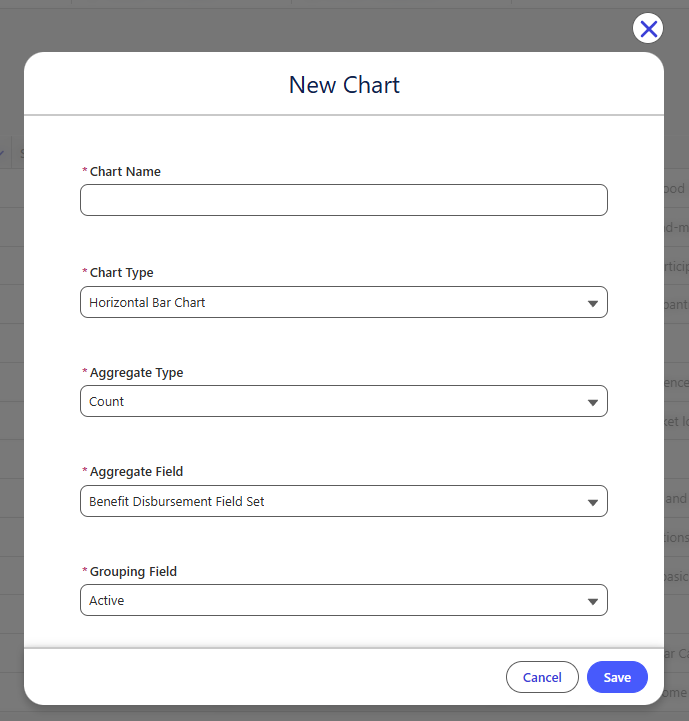
When you click New Chart, you will see this:
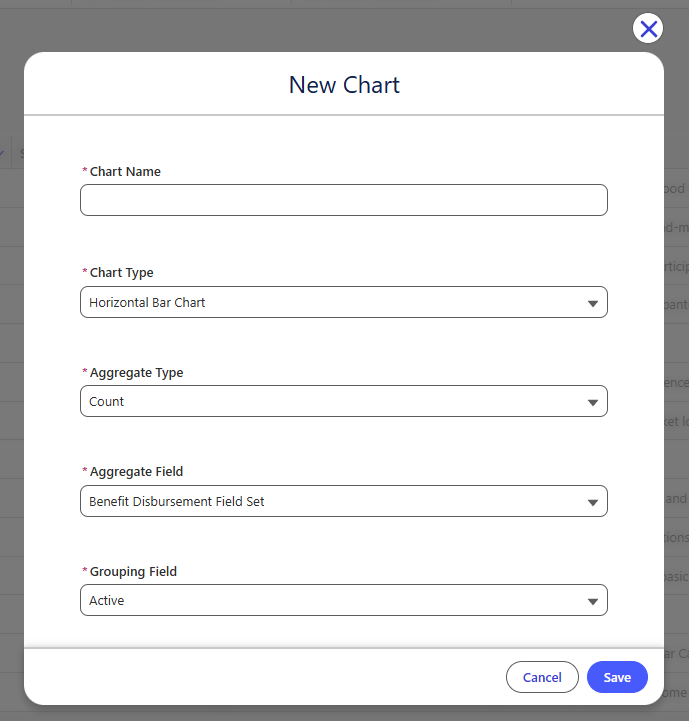
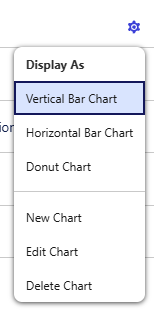
Chart Type options:
- Vertical Bar Chart
- Horizontal Bar Chart
- Donut ChartAggregate Type options:
- Average
- Sum
- Count
Aggregate Field (The field the operation above will be on, Count this field, or Sum this field)
Grouping Field (The field to perform the operation against, example, the number of Donations per what? per Campaign or Per Household?)
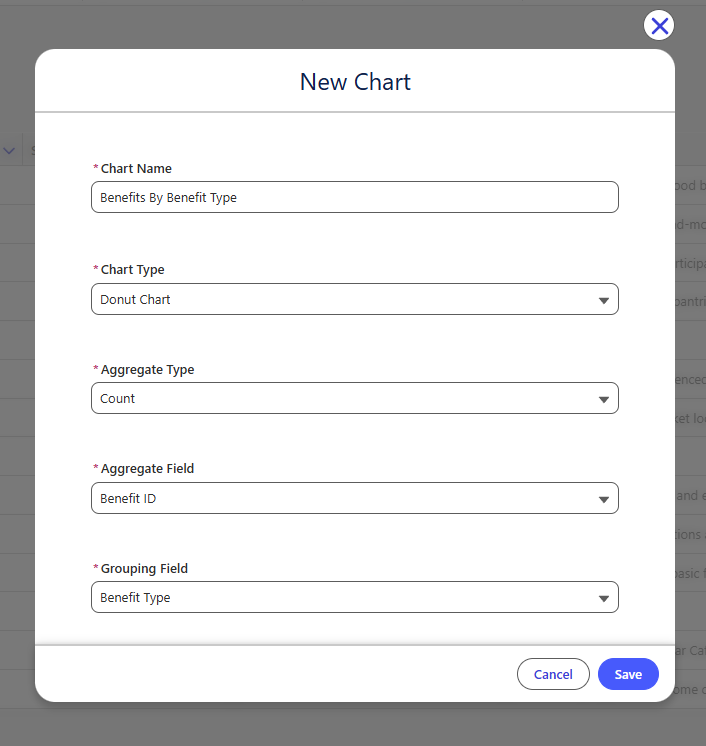
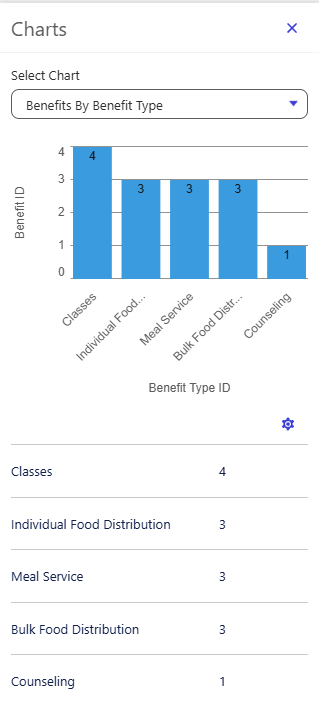
Here is an example chart setup: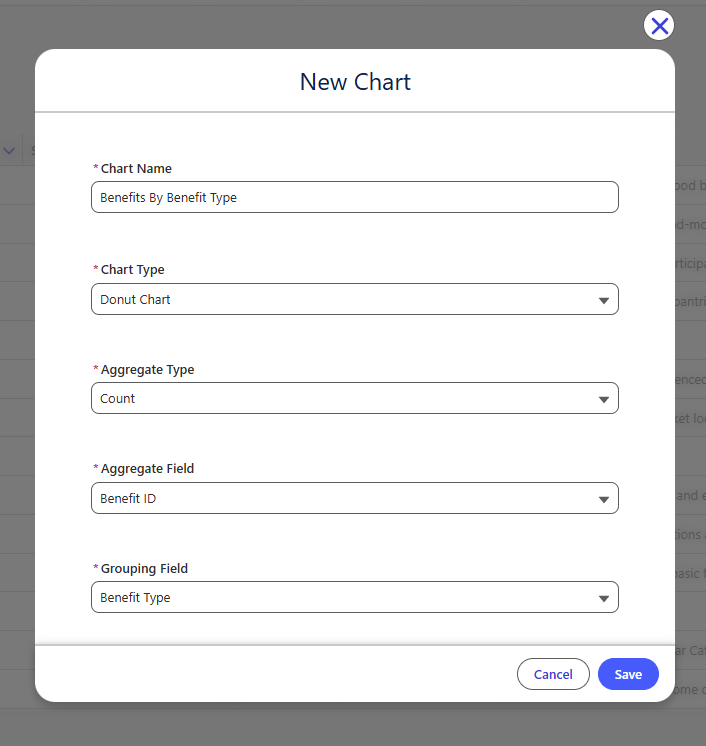
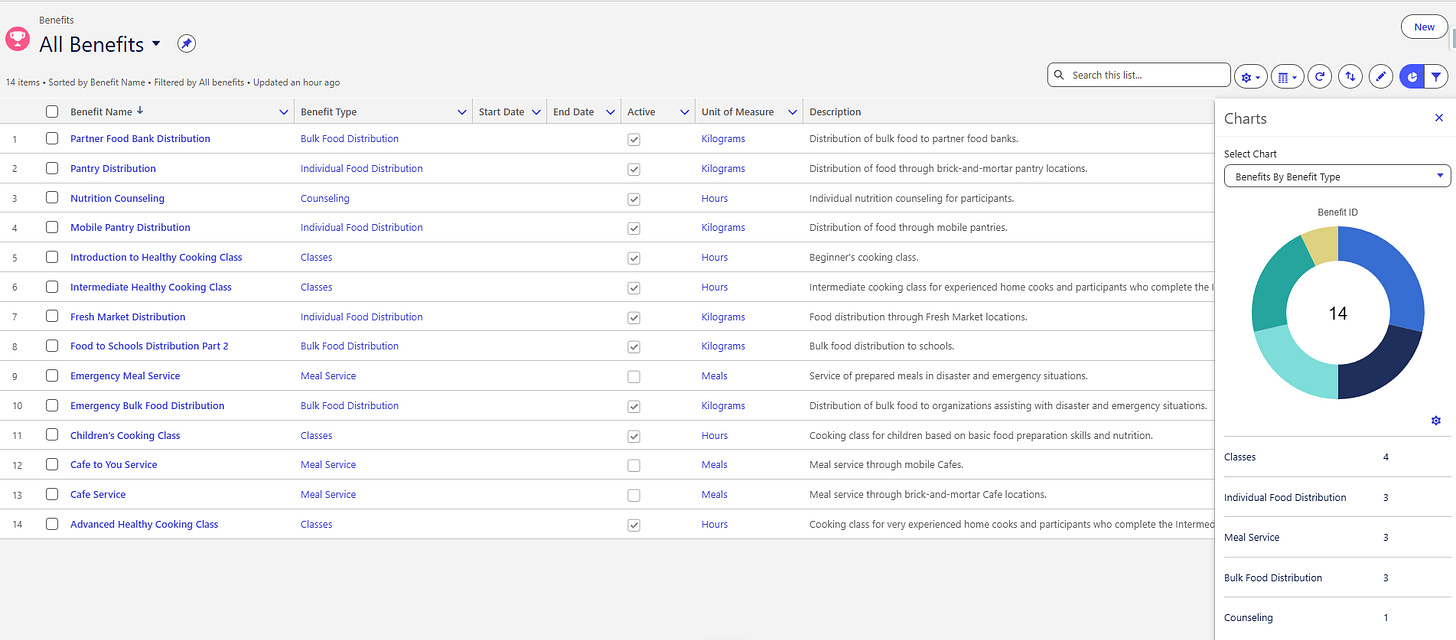
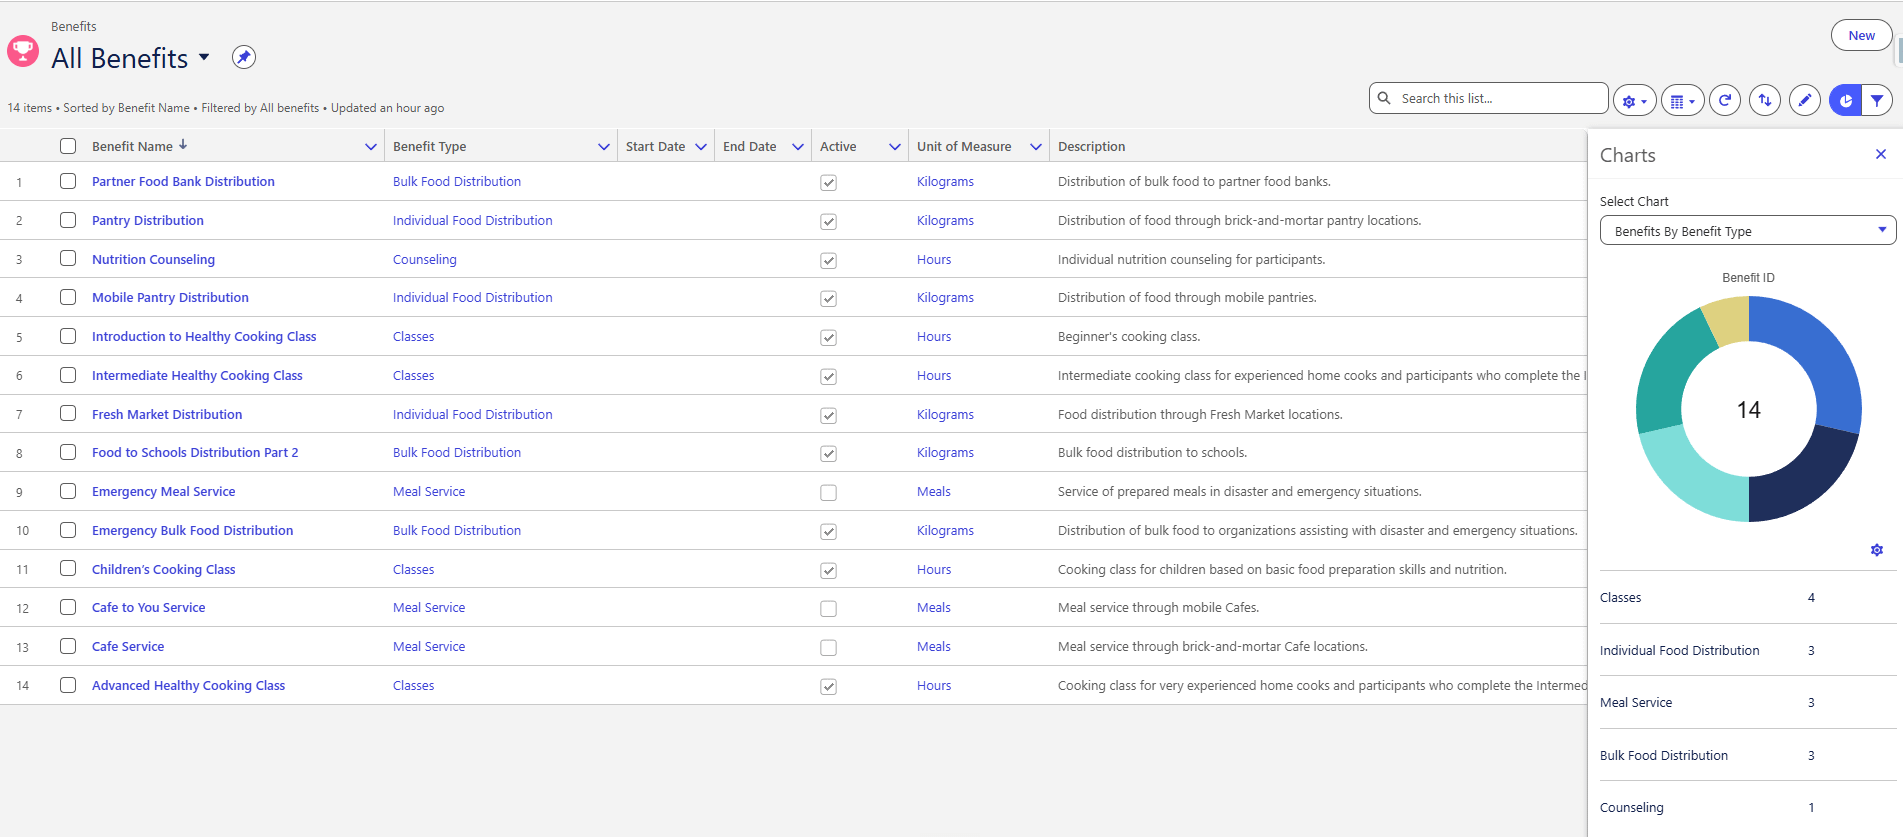
You can click this tiny gear icon to perform some edits:
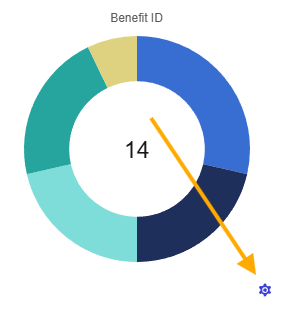
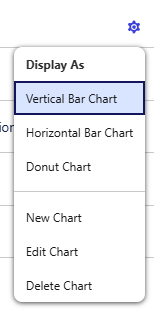
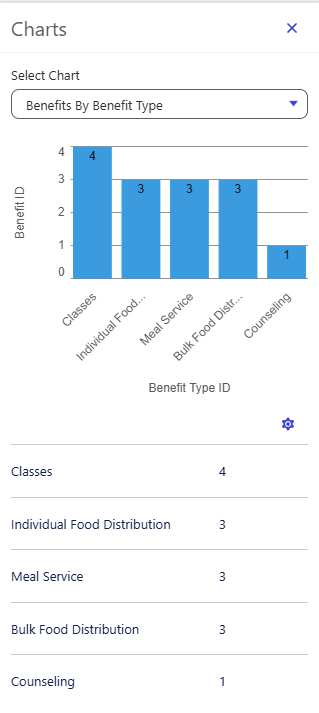
Works, the chart and its details are squished against that little area of the screen, in a dashboard, you can get a chart to be as big as needed, but it is a cool little feature at List View level.
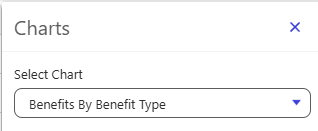
Noticed the dropdown? you can create multiple charts and switch between them.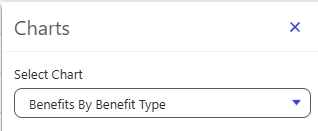
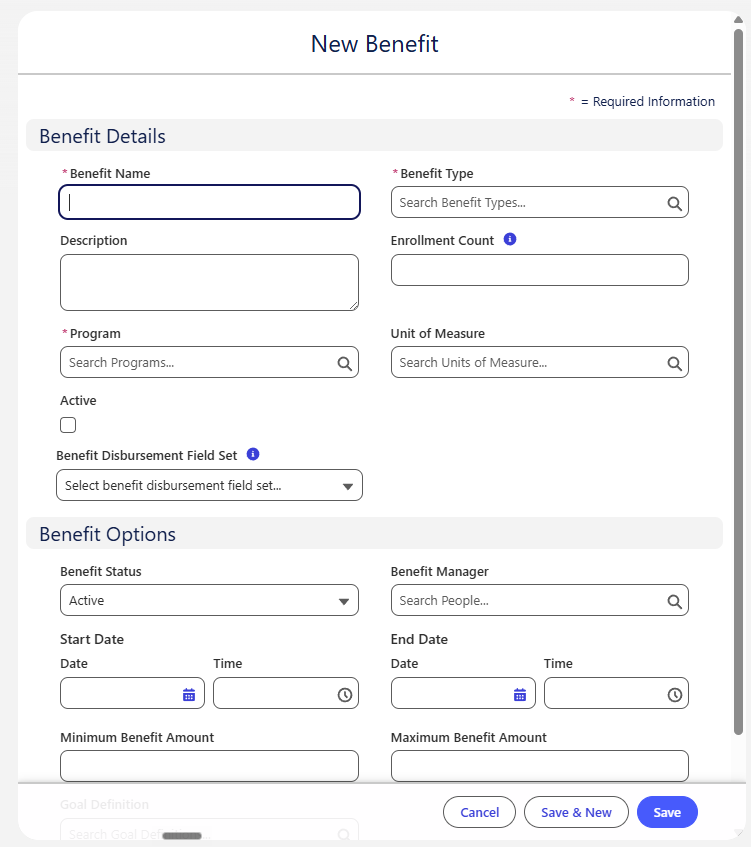
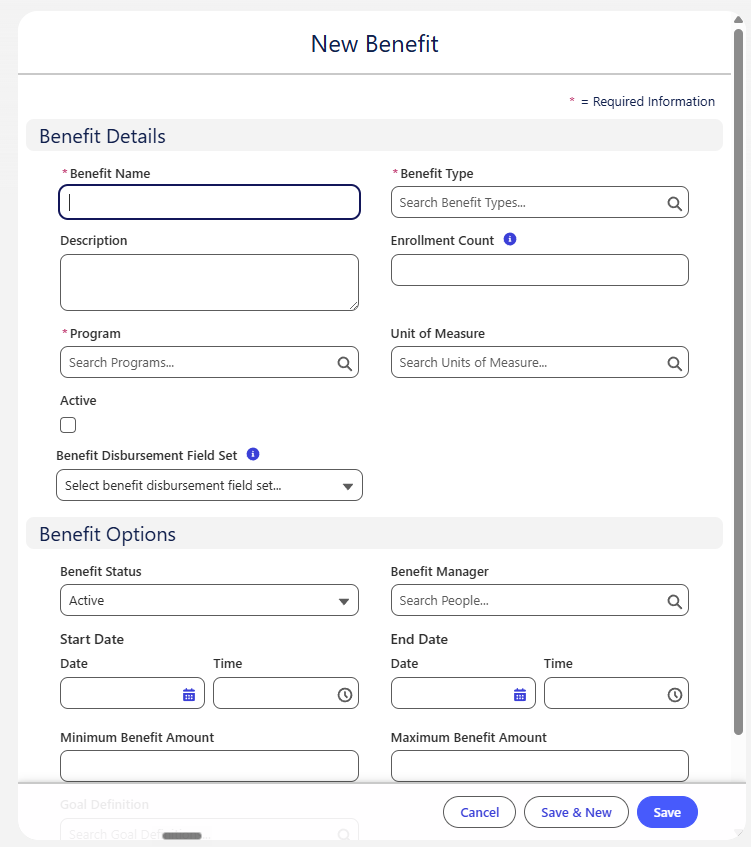
New, this is where you can create new records/rows of this object/table. It will open a popup form, fill the fields you need and hit Save.


Conclusion
There you have it. A master’s degree on how to manage List Views, I definitely did not expect it to be that long, but this is a great reminder how granular Salesforce can be and how much control we have here.
There are some areas we have not even covered here such as Permissions for List View management, some Locked Inline Editing scenarios and some more concepts, but this serves as a general purpose how to manage List Views for Nonprofit Leaders/Staff or Salesforce professionals.
I also tried to keep the screenshots, gifs and examples from Nonprofit Cloud to be as relevant as possible to the Nonprofit world.
Let me know what you think of this format and if you found this helpful.
